
Introduction
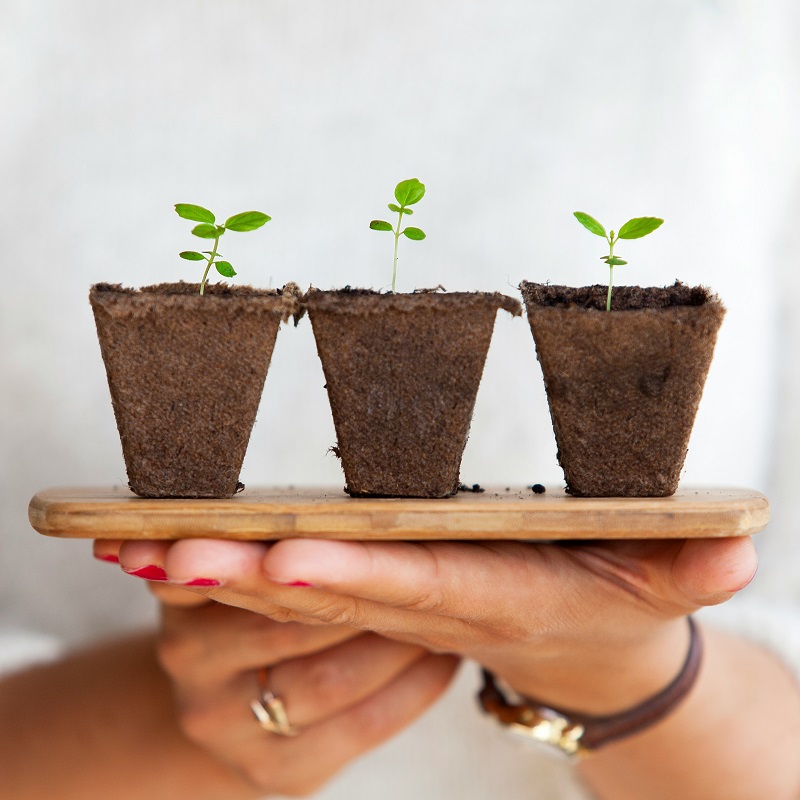
Imagine stepping onto your patio or reaching toward your kitchen windowsill to harvest fresh basil, cilantro, or rosemary exactly when you need it. Container gardening makes this everyday convenience absolutely achievable, regardless of your outdoor space size. Whether you’re managing a sprawling suburban yard, a modest urban balcony, or even a compact apartment kitchen, growing herbs in containers delivers restaurant-quality flavors at your fingertips while saving money and eliminating pesticide concerns.
The beauty of container herb gardening lies in its accessibility. You don’t need extensive land, specialized equipment, or horticultural expertise. A few pots, quality soil, consistent sunlight, and regular attention yield abundant harvests that transform everyday cooking. Fresh herbs elevate simple dishes into memorable meals while providing superior nutrition compared to dried supermarket alternatives.
This guide walks you through seven resilient, productive herbs perfectly suited to container cultivation. You’ll discover which varieties thrive in limited light, how to optimize growth in different seasons, harvesting techniques that encourage continued production, and companion planting strategies that maximize your container garden’s productivity. Whether you’re a seasoned gardener or absolute beginner, these proven methods ensure success.
The Benefits of Growing an Herb Garden at Home
Health and Nutrition Advantages
Superior Freshness and Potency: Homegrown herbs contain significantly higher concentrations of essential oils and active compounds compared to supermarket herbs shipped thousands of miles and stored for weeks. The flavor difference between fresh-picked basil and packaged alternatives is unmistakable—your palate will immediately recognize the superior taste and aroma.
Complete Chemical Control: You determine exactly what touches your plants. No synthetic pesticides, no mysterious chemical residues, no concerns about food safety. Organic cultivation methods ensure herbs safe for children, pets, and health-conscious households.
Nutrient Density: Herbs harvested and consumed immediately retain maximum vitamin content, antioxidants, and medicinal compounds. Medical research demonstrates that fresh herb consumption supports immune function, digestive health, and cardiovascular wellness far more effectively than dried alternatives.
Economic Benefits
Significant Grocery Savings: Fresh herb bundles sold retail cost $3-6 each and deteriorate within days. A single container investment ($10-15) produces equivalent quantities continuously throughout growing seasons, eliminating repeated purchases and waste.
Reduced Food Waste: Growing exactly what you need prevents the frustration of purchasing full packages when recipes require minimal quantities. No more discarding wilted herbs from refrigerator drawers.
Year-Round Availability: Indoor container cultivation extends herb availability beyond normal seasons. Winter herb gardening keeps your kitchen stocked when fresh market options become scarce and expensive.
Environmental and Wellness Impact
Reduced Carbon Footprint: Homegrown herbs eliminate transportation emissions from distant commercial farms. No packaging waste, no refrigerated shipping, no environmental impact—just direct soil-to-plate simplicity.
Mental Health Benefits: Gardening reduces stress and anxiety while connecting you with natural cycles. The sensory experience of harvesting fragrant herbs and tending living plants provides measurable psychological wellness benefits documented in horticultural therapy research.
Biodiversity Support: Container gardens attract beneficial pollinators and insects that support broader ecosystem health. Even small balcony gardens contribute meaningfully to urban biodiversity.
Quick-Start Essentials Before You Begin
Sunlight Assessment
Herbs have varying light requirements, but most thrive with 4-6 hours of direct daily sunlight. Assess potential locations—south-facing windows and patios typically provide optimal exposure. North-facing areas receive insufficient light for most culinary herbs. East or west-facing locations work adequately if supplemented with afternoon shade during extreme heat. Track sun patterns throughout the day to identify your garden’s best position.
Container Selection
Size Specifications: Choose containers at minimum 6-8 inches deep for shallow-rooted herbs and 10-12 inches for deeper-rooting varieties. Diameter should accommodate mature plant spread—generally 8-10 inches minimum for single herbs or 12-14 inches for multiple plantings.
Drainage Requirement: Drainage holes are non-negotiable. Waterlogged roots cause rot and fungal diseases. If using decorative containers lacking drainage, nest a draining pot inside or drill holes carefully in container bases.
Material Options: Terracotta breathes well but dries quickly, requiring frequent watering. Ceramic provides aesthetic appeal with moderate drainage. Plastic retains moisture longer, reducing watering frequency—ideal for busy gardeners or arid climates. Fabric pots offer excellent drainage and temperature regulation but require aesthetic outer containers.
Soil Composition
Standard potting soil combined with organic amendments creates optimal herb growing media. Mix:
- 60% quality potting soil or indoor plant mix
- 25% aged compost or worm castings
- 15% perlite or coarse sand (enhances drainage)
This blend provides nutrient density, moisture retention, and airflow balance necessary for productive container gardening.
Watering Guidelines
Successful herb cultivation balances moisture availability with preventing waterlogging. Water when the top inch of soil feels dry to your touch. Morning watering allows foliage to dry before evening, reducing fungal disease risk. During hot weather, daily watering may be necessary. In cooler seasons, reduce frequency to 2-3 times weekly. Never allow containers to sit in standing water—empty saucers 30 minutes after watering.
Seven Easy Herbs to Grow in Containers
1. Basil: The Culinary Workhorse
Light Requirements: Basil demands abundant sunlight—minimum 6-8 hours daily. More sun equals bushier growth and superior flavor intensity. South-facing windowsills and sun-exposed patios provide ideal positioning.
Care Protocol: Water consistently to maintain evenly moist (not waterlogged) soil. Pinch off flower buds as they emerge to redirect energy into leaf production. Harvest upper leaves frequently using clean scissors or fingers, removing entire leaf sets rather than individual leaves. This pruning technique encourages dense, branching growth rather than tall, spindly stems.
Culinary Applications: Basil’s versatility is unmatched. Fresh leaves elevate Caprese salads, pasta sauces, pizzas, and Mediterranean dishes. Preserve excess by making pesto, infusing oils, or drying leaves for winter use. A single productive basil plant supplies sufficient leaves for multiple family meals weekly.
Variety Options: Sweet basil offers classic flavor for Italian cuisine. Thai basil provides spicy, licorice-tinged notes. Purple basil adds visual appeal and subtle peppery complexity. African blue basil combines ornamental qualities with culinary utility.
Companion Planting: Basil grows well with parsley, oregano, and chives. Avoid planting with mint, which spreads aggressively and outcompetes neighbors.
2. Chives: The Resilient Performer
Light Requirements: Chives display remarkable flexibility, thriving in direct sun or partial shade (3-4 hours sunlight). This adaptability makes chives ideal for challenging locations with limited light.
Care Protocol: Chives are extraordinarily forgiving plants tolerating various growing conditions. They survive in recycled containers, plastic bottles with drainage holes, and conventional pots equally well. Cut chives with clean scissors 2-3 inches above soil level, leaving the base intact to regenerate. The plant responds to cutting by producing multiple new shoots from the remaining base.
Culinary Applications: Mild onion flavor makes chives essential for egg dishes, baked potatoes, salads, soup garnishes, and creamy sauces. Harvest continuously throughout the growing season. Bonus: beautiful purple flowers that appear in spring are edible and add visual interest to dishes.
Production Timeline: Chives establish quickly, often producing harvestable stems within 2-3 weeks of planting. A single container provides consistent supply for one to two people indefinitely with proper care.
Propagation: Chives reproduce easily through division. Every 12 months, divide overcrowded containers into multiple new pots, exponentially expanding your herb supply.
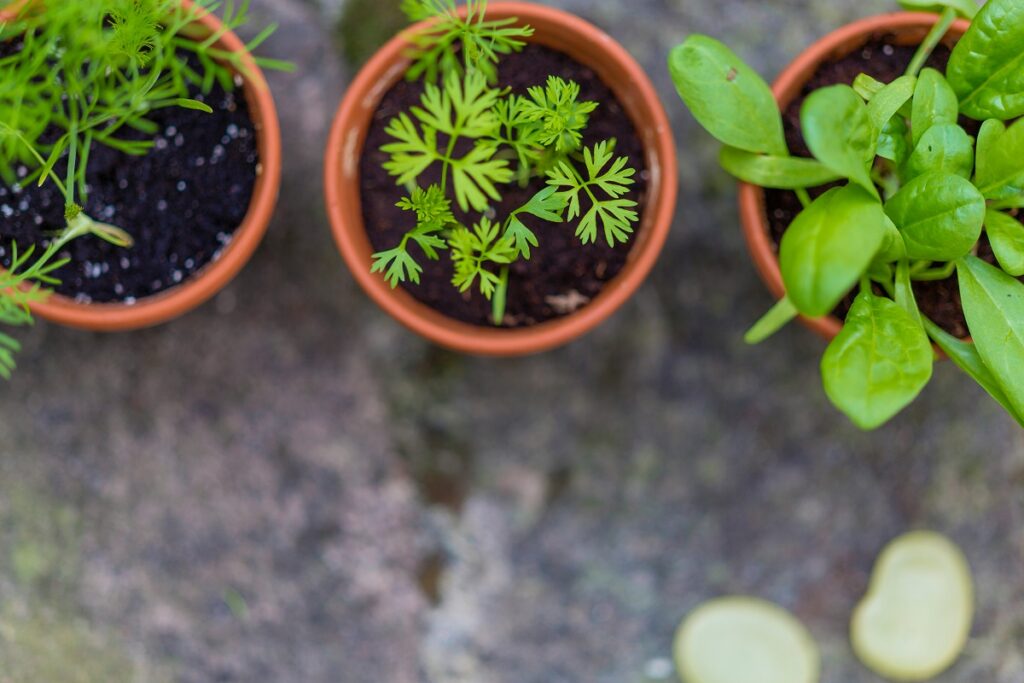
3. Parsley: The Nutritional Powerhouse
Light Requirements: Parsley accepts partial shade or dappled light (3-4 hours direct sun) while also tolerating full sun locations. This flexibility makes parsley suitable for various container positions.
Care Protocol: Parsley germinates slowly—expect sprouts 2-3 weeks after planting. Be patient; germination rates improve with consistent moisture. Once established, parsley is remarkably hardy and resilient. Water regularly, allowing soil to dry slightly between waterings. Harvest outer stems first, leaving inner leaves to continue growth.
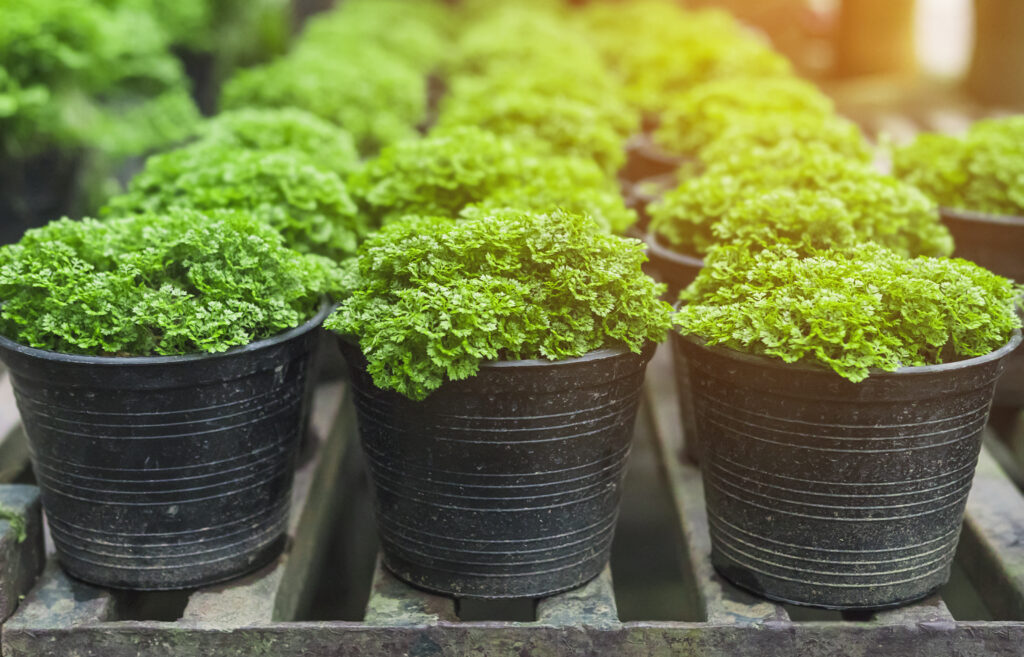
Culinary Applications: Flat-leaf parsley’s fresh, slightly peppery flavor enhances salads, soups, meat dishes, and vegetable preparations. Curly parsley offers similar taste with decorative frilly foliage. Both varieties freeze successfully for winter use or dry completely for longer storage.
Health Benefits: Parsley contains exceptional levels of vitamins K, C, and A, plus powerful antioxidants. Regular consumption supports bone health, immune function, and anti-inflammatory responses.
Container Longevity: Parsley produces prolifically for 6-8 months before declining. Plan succession planting—starting new containers every 2-3 months ensures continuous supply without gaps.
4. Mint: The Vigorous Spreader
Light Requirements: Mint thrives in partial shade, making it perfect for shady balconies, covered patios, or interior kitchen locations receiving 2-3 hours indirect light. Excessive sun causes foliage to fade.
Care Protocol: Mint spreads aggressively through underground runners. Never plant mint with other herbs in shared containers—it will overtake everything. Dedicate individual pots exclusively to mint. Water consistently; mint prefers consistently moist soil compared to drought-tolerant herbs.
Culinary Applications: Refreshing mint flavor transforms beverages (mojitos, iced tea, lemonade), desserts, and cold dishes. Moroccan and Vietnamese cuisines showcase mint’s versatility in savory applications. Harvest leaves before flowering for optimal flavor intensity.
Variety Exploration: Peppermint offers bold, cooling menthol notes. Spearmint delivers sweeter, gentler flavor. Chocolate mint combines mint with subtle cocoa undertones. Lemon mint provides citrusy complexity. Each variety justifies dedicated container cultivation.
Propagation: Mint propagates effortlessly from stem cuttings placed in water. Within 7-10 days, roots develop. Transfer rooted cuttings to soil for new plants. This simple propagation creates multiple pots from single plants.
5. Rosemary: The Mediterranean Classic
Light Requirements: Rosemary demands full sun exposure—minimum 6-8 hours daily direct sunlight. South-facing, unobstructed locations are essential. Insufficient light produces weak, leggy growth.
Care Protocol: Rosemary evolved in Mediterranean climates with dry summers. This heritage means rosemary prefers moderate watering compared to water-loving herbs. Water thoroughly, then allow soil to dry substantially between waterings. Overwatering causes root rot and fungal disease. Prune regularly to maintain compact, bushy growth rather than tall, sparse stems.
Culinary Applications: Rosemary’s distinctive piney, slightly peppery flavor complements roasted meats, potatoes, breads, and Mediterranean vegetable dishes. Woody stems flavor infused oils perfectly. Whole sprigs garnish plates beautifully. Dried rosemary maintains flavor intensity for months.
Winter Consideration: Rosemary survives indoors during cold months if positioned in bright windows. Many gardeners maintain rosemary year-round indoors, harvesting continuously without seasonal gaps.
Propagation: Propagate rosemary from 3-4 inch cuttings placed in well-draining soil. Rooting takes 3-4 weeks. Patience rewards you with additional plants.
6. Oregano: The Pizza Herb
Light Requirements: Oregano thrives in direct sunlight—6+ hours daily. Sun exposure intensifies flavor compounds and encourages dense growth.
Care Protocol: Oregano tolerates dry conditions well. Allow soil to dry between waterings. Harvest leaves before the plant flowers; post-flowering leaves develop bitter undertones. Pinch off flower buds to redirect energy into leaf production. Oregano becomes woody and less productive after 2-3 years; plan succession planting.
Culinary Applications: Oregano is fundamental to Italian, Greek, and Mediterranean cuisine. Pizza, pasta sauces, grilled vegetables, and marinated meats all benefit from oregano’s warm, slightly peppery flavor. Dried oregano maintains potency for extended periods, making it excellent for preserving excess harvests.
Variety Distinctions: Greek oregano offers superior flavor intensity compared to common oregano. Italian oregano provides milder, more delicate taste. Golden oregano adds ornamental appeal with yellow-tinged foliage.
Pest Resistance: Oregano naturally repels common garden pests and insects. Growing oregano nearby protects neighboring plants from pest pressure.
7. Cilantro: The Polarizing Favorite
Light Requirements: Cilantro thrives in direct sunlight—6+ hours daily. Adequate light encourages rapid growth and delays premature flowering (bolting).
Care Protocol: Cilantro grows quickly but has specific requirements. Consistent moisture is essential; allow slight drying but never complete drought. Warm temperatures trigger bolting (flowering), which causes leaves to become intensely bitter and unsuitable for culinary use. Start new containers every 3-4 weeks for continuous supply.
Culinary Applications: Cilantro’s distinctive citrusy, slightly herbal flavor is essential in Mexican, Asian, and Indian cuisines. Fresh leaves brighten salsas, curries, pho, and fish dishes. Cilantro enthusiasts harvest continuously. Cilantro skeptics (who experience a genetic perception of soapy flavor) appreciate cilantro absence from mixed herb containers.
Harvest Strategy: Pinch leaves from the top regularly, harvesting before bolting occurs. Once flower buds appear, flavor declines rapidly.
Seed Preservation: Allow one container to bolt and flower completely. Cilantro seeds (coriander) are culinary ingredients themselves. Harvest dried seed heads and store for cooking or replanting.
Container Herb Gardening Best Practices
Optimal Container Setup
Individual Planting: Most herbs thrive in individual containers. This approach prevents aggressive herbs (mint, oregano) from dominating neighbors while allowing species-specific watering adjustments.
Companion Containers: Some herbs combine successfully—basil with parsley, chives with oregano. Ensure compatible water and light needs before combining.
Seasonal Rotation: Herbs produce seasonally. Position containers to receive adequate sunlight as seasons change and sun angles shift. Winter might require repositioning to south-facing windows for supplemental light.
Fertilization Strategy
Baseline Nutrient Content: Quality potting soil and compost provide initial nutrients supporting 2-3 months growth without supplementation.
Monthly Feeding: Beginning month three, apply balanced liquid fertilizer (NPK ratio 5-5-5 or similar) monthly at half-strength concentration. Organic fish emulsion or kelp-based fertilizers work excellently for culinary herbs.
Excessive Nitrogen Caution: High-nitrogen fertilizers produce lush foliage but reduce essential oil concentrations that create herb flavor. Moderate, balanced nutrition produces superior culinary results.
Pest and Disease Management
Common Container Issues: Indoor herb containers rarely experience serious pest infestations. Outdoor containers sometimes host spider mites or whiteflies. Inspect leaves regularly, checking undersides where pests hide.
Organic Solutions: Spray infested plants with diluted insecticidal soap or neem oil solution. Remove severely affected leaves. Maintain air circulation to prevent fungal diseases.
Fungal Prevention: Avoid overhead watering that wets foliage. Water soil directly. Ensure containers receive adequate air movement. Discard severely diseased plants rather than treating—preventive replacement is more economical than treatment.
Harvesting for Continuous Production
Timing: Begin harvesting once plants establish 6-8 true leaves. Early harvesting encourages bushier growth rather than tall, spindly development.
Technique: Pinch or cut upper leaves and stem tips. Never harvest more than one-third of the plant at once. This conservative approach maintains vigor and encourages regeneration.
Frequency: Frequent light harvesting outperforms occasional heavy harvesting. Regular pinching maintains plant shape, delays flowering, and encourages continuous leaf production.
Succession Planting
Start new herb containers every 2-3 months. As older plants decline or become woody, younger plants enter peak production. This staggered approach ensures continuous supply without seasonal gaps. Simultaneously, you’re never completely dependent on single aging plants.
Seasonal Considerations for North American Growers
Spring (March-May)
Spring offers ideal conditions for herb establishment. Plant seeds and transplants as soil warms and daylight extends. Herbs establish rapidly with accelerating growth. Position containers in progressively sunnier locations as spring temperatures rise.
Summer (June-August)
Peak production season. Basil, cilantro, and other warm-season herbs produce abundantly. Heat stress may accelerate bolting in cilantro—manage through succession planting. Water frequently in extreme heat; containers may require daily watering. Afternoon shade becomes beneficial in regions exceeding 95°F.
Fall (September-November)
Growth rates decline as daylight shortens and temperatures cool. Reduce watering frequency. Focus harvests on energy-dense leaves before plants enter dormancy. Bring tender herbs (basil, cilantro) indoors before first frost. Hardy herbs (mint, chives, parsley) tolerate light frosts.
Winter (December-February)
Move containers indoors to south-facing windows providing maximum available light. Growth slows dramatically; reduce watering and fertilizing accordingly. Harvestable leaves are limited but available. Start planning spring succession plantings.
Container Herb Garden Troubleshooting Guide
Problem: Yellowing Leaves
Causes: Overwatering (most common), nitrogen deficiency, or disease
Solutions: Allow soil to dry between waterings. Improve drainage. Apply balanced fertilizer if persistent. Remove severely affected leaves.
Problem: Leggy, Thin Growth
Cause: Insufficient light
Solution: Reposition containers to sunnier locations. Pinch frequently to encourage branching. Consider supplemental grow lights for indoor winter gardening.
Problem: Wilting Despite Moist Soil
Cause: Root rot from chronic overwatering or poor drainage
Solution: Improve drainage immediately. Reduce watering frequency. Repot in fresh soil if damage is extensive.
Problem: Slow Growth or Stunted Development
Causes: Poor soil quality, insufficient nutrients, or inappropriate light/water
Solutions: Refresh potting soil annually. Apply monthly balanced fertilizer. Verify light and water requirements for specific herbs.
Problem: Premature Bolting
Cause: Heat stress (especially cilantro and parsley) or plant maturity
Solution: Provide afternoon shade during extreme heat. Begin succession planting for continuous supply. Harvest frequently to delay flowering.


Taking Your Herb Garden Further
Preserving Excess Harvests
Freezing: Chop fresh herbs, place in ice cube trays, cover with water, and freeze. Transfer frozen cubes to freezer bags. Herb-filled ice cubes preserve flavor for months and portion perfectly for recipes.
Drying: Hang herb bundles in warm, dry, dark spaces with good airflow. Once completely dry, crumble and store in airtight containers. Dried herbs maintain flavor for 6+ months.
Infusing Oils: Fill sterilized bottles with herbs and cover completely with high-quality olive oil. Seal and refrigerate. Herb-infused oils last weeks and add tremendous flavor to cooking.
Making Pesto: Blend fresh basil, garlic, nuts, parmesan, and olive oil into pesto. Freeze in ice cube trays or small jars for long-term storage.
Scaling Up Production
Once comfortable with basic container gardening, expand systematically. Add tiered shelving to maximize vertical growing space. Develop dedicated herb stations on patios or windowsills. Consider vertical wall gardens for maximum efficiency. Many gardeners transition hobby container gardens into semi-commercial herb businesses.
Growing Herbs Indoors Year-Round
Position containers in south-facing windows receiving 6+ hours direct light. Supplement with full-spectrum grow lights during winter for optimal year-round production. Indoor herb gardening eliminates seasonal limitations and provides winter fresh herbs when outdoor options are unavailable.
Conclusion
Growing fresh herbs at home through container gardening transforms your cooking while saving money, eliminating chemical concerns, and connecting you with natural growing cycles. Seven resilient varieties—basil, chives, parsley, mint, rosemary, oregano, and cilantro—provide exceptional versatility and ease of cultivation suitable for any gardener’s skill level.
Start today by selecting one or two herbs matching your culinary preferences and available light. Position containers strategically, use quality soil, establish a consistent watering routine, and harvest regularly. Within weeks, you’ll enjoy fresh herbs superior to any commercial alternative—and you’ll wonder why you waited so long to start growing.
Ready to begin? Choose your favorite culinary herbs this week. Visit a local garden center or nursery for established transplants (easier than seeds for beginners). Position containers in your sunniest locations. Water consistently. Harvest generously. Share your success with friends and family. Your journey toward herb gardening excellence starts now—one container, one herb, one meal at a time.
You may also like: How to Plant Lettuce: Complete Growing Guide for Fresh Homegrown Greens