March 12, 2026
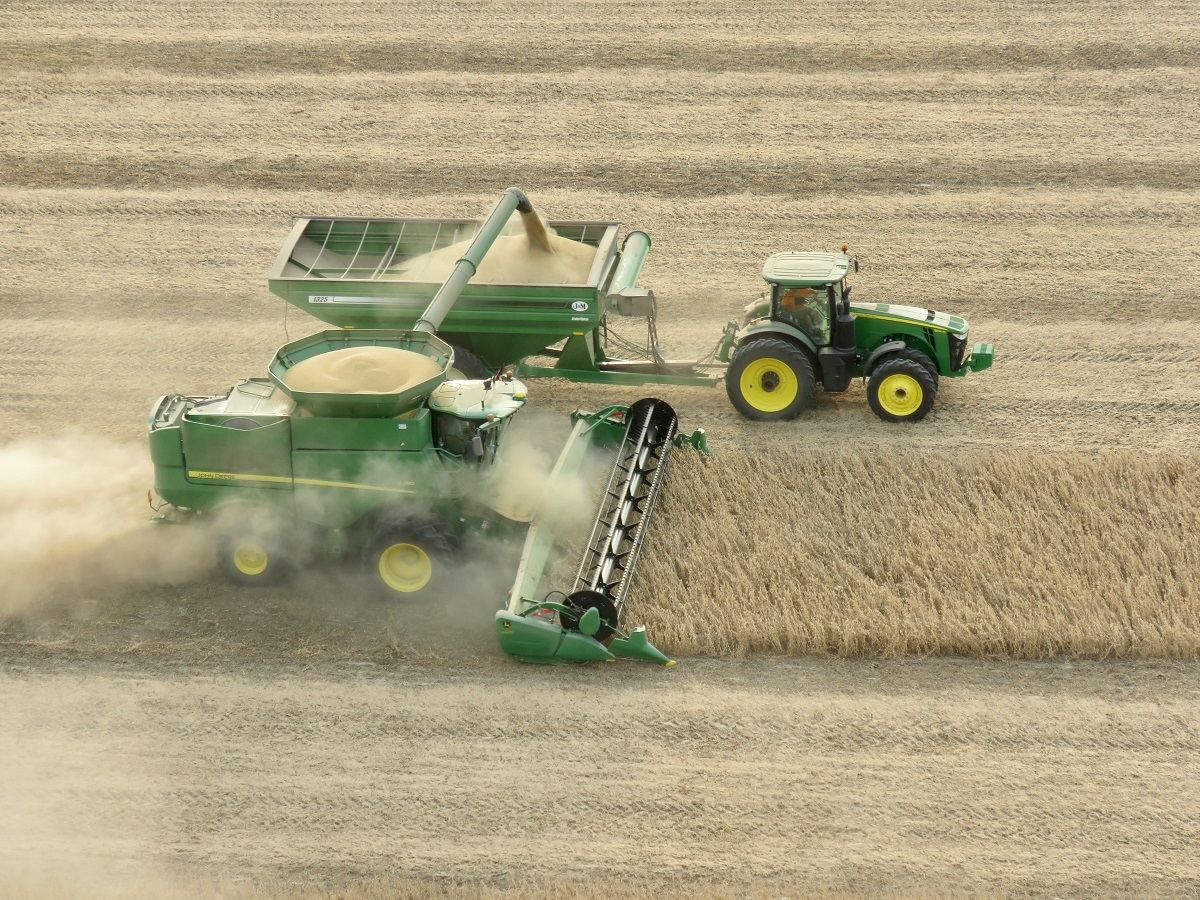
Complete Guide to Grain Planting in the United States: Timing, Techniques, and Management
March 12, 2026
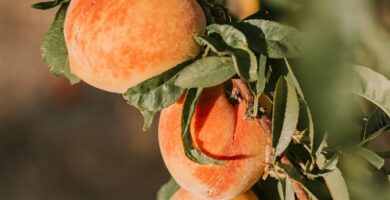
Complete Guide to Fruit Tree Cultivation in the United States: Species, Timing, and Management Techniques
February 7, 2026
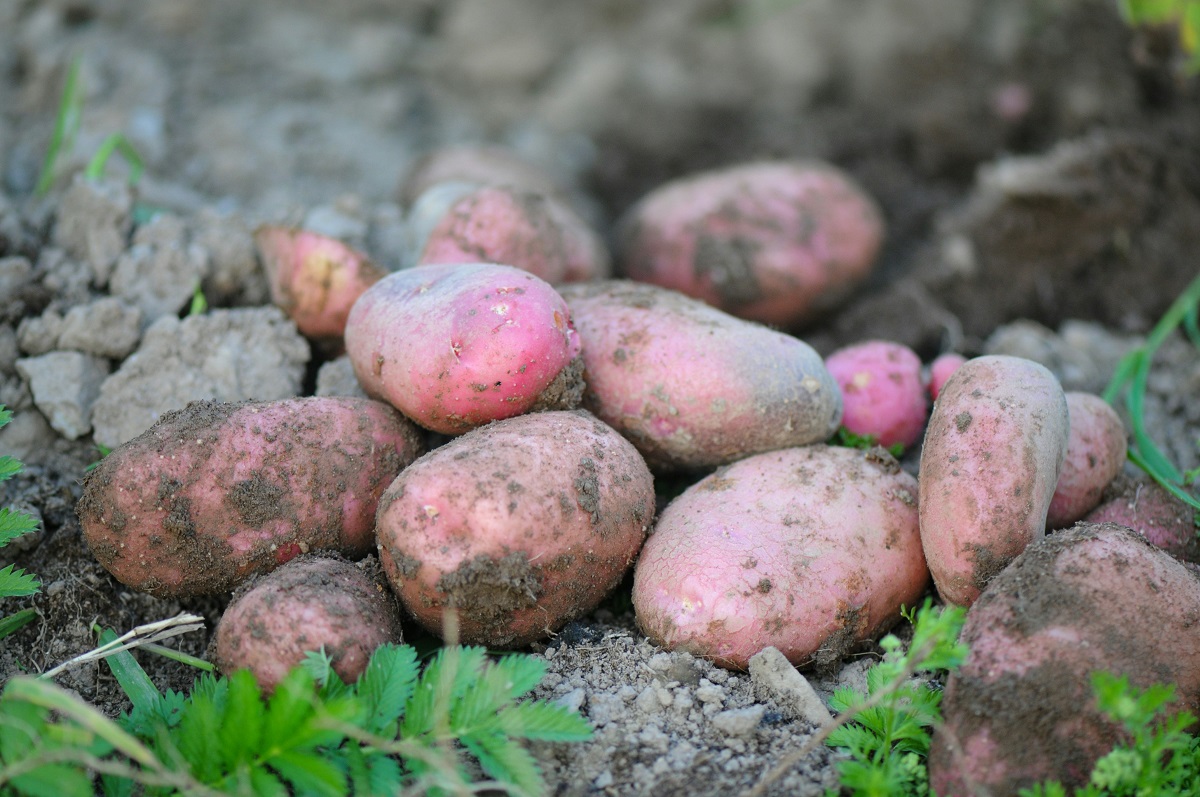
How to Grow Sweet Potatoes: Complete Cultivation Guide
December 8, 2025
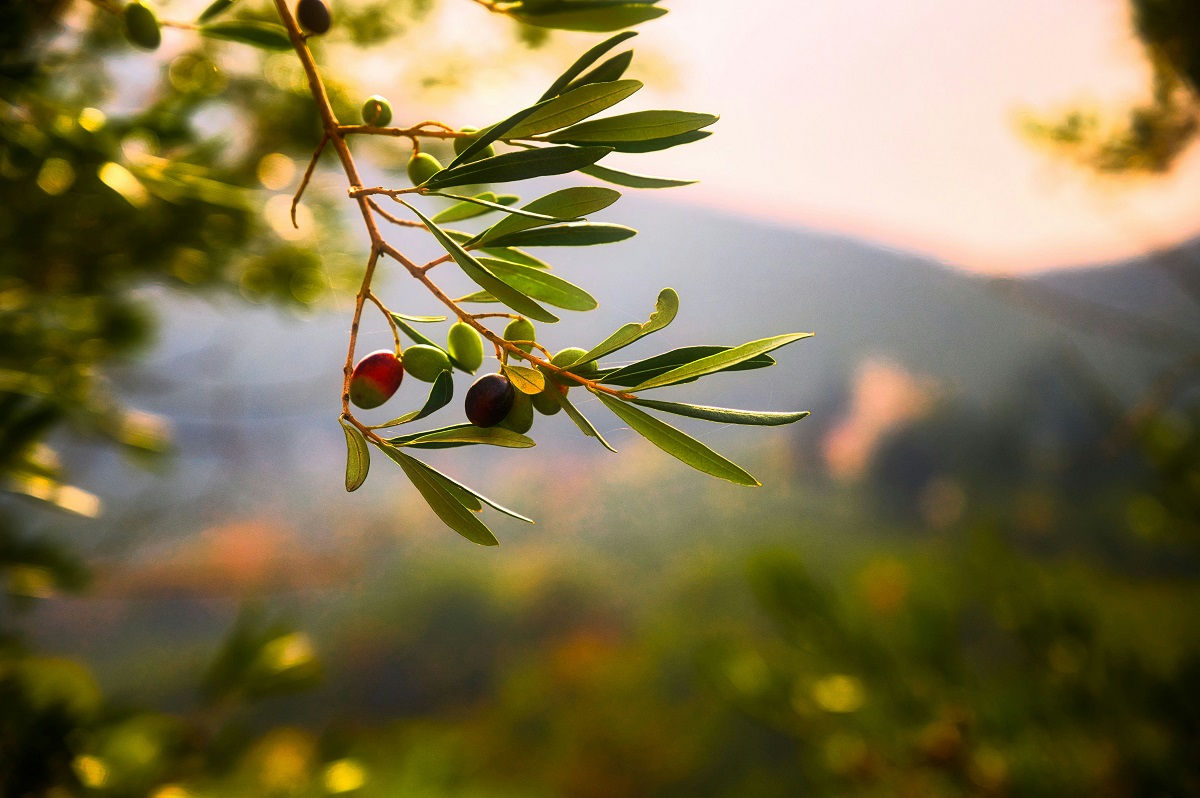
How to Grow Olive Trees: Complete Step-by-Step Guide for Home Orchards and Commercial Production
December 7, 2025

Seed Inoculation: What It Is, How It Works, and How to Use It for Better Yields
November 15, 2025
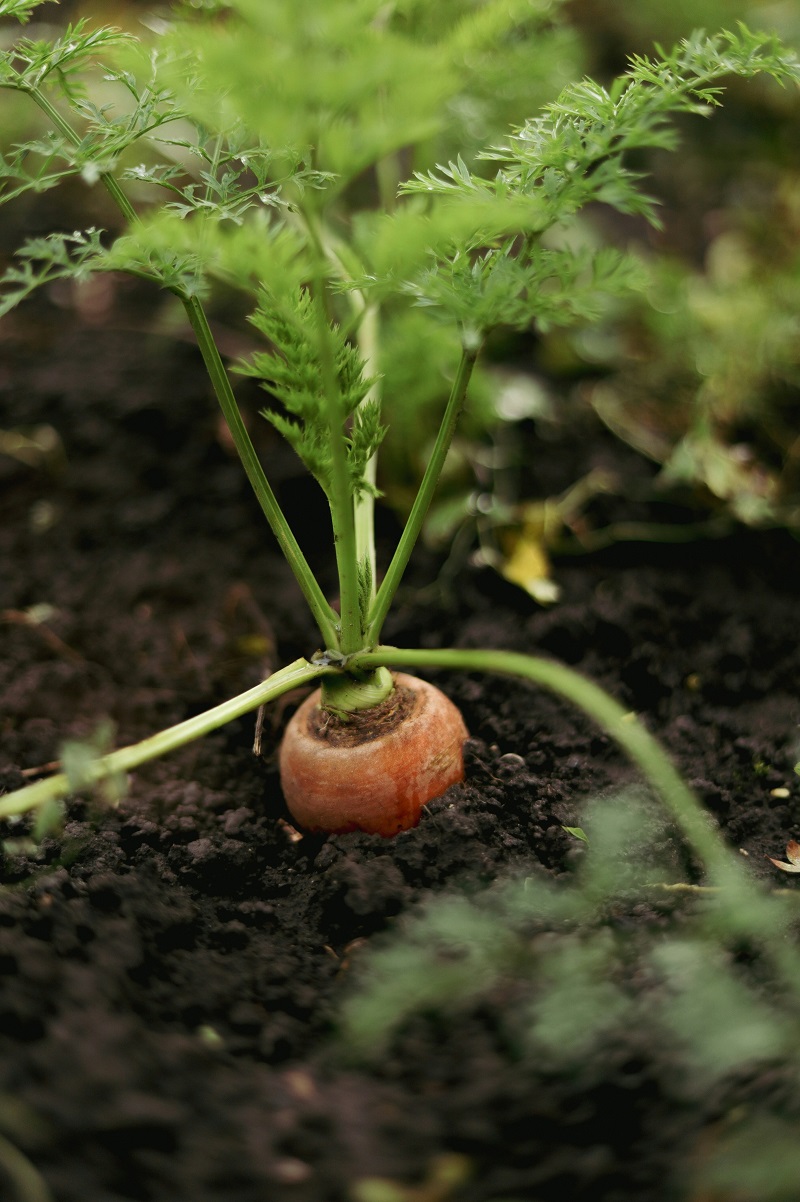
How to Plant Carrots: Step-by-Step Guide for Perfect Homegrown Roots
November 15, 2025