October 19, 2025
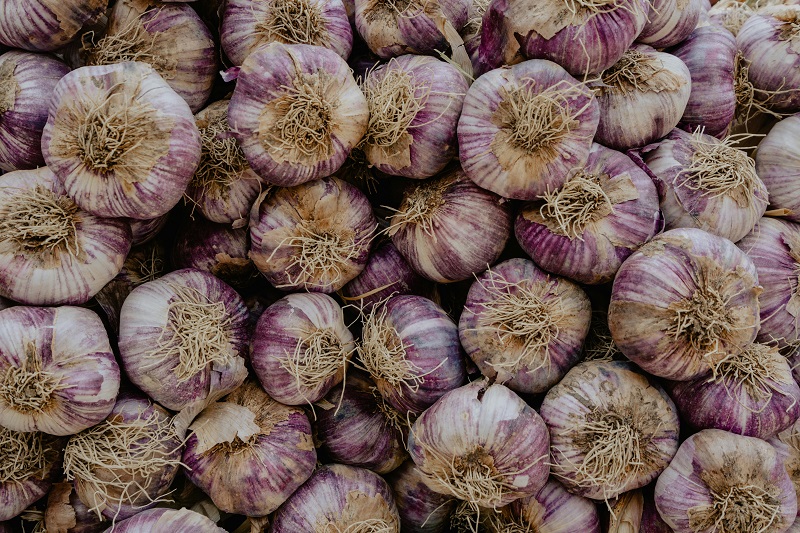
The Complete Guide to Growing Garlic at Home: Planting to Harvest
October 18, 2025

How to Grow Cherry Tomatoes at Home: Complete Guide for Container and Garden Success
October 18, 2025
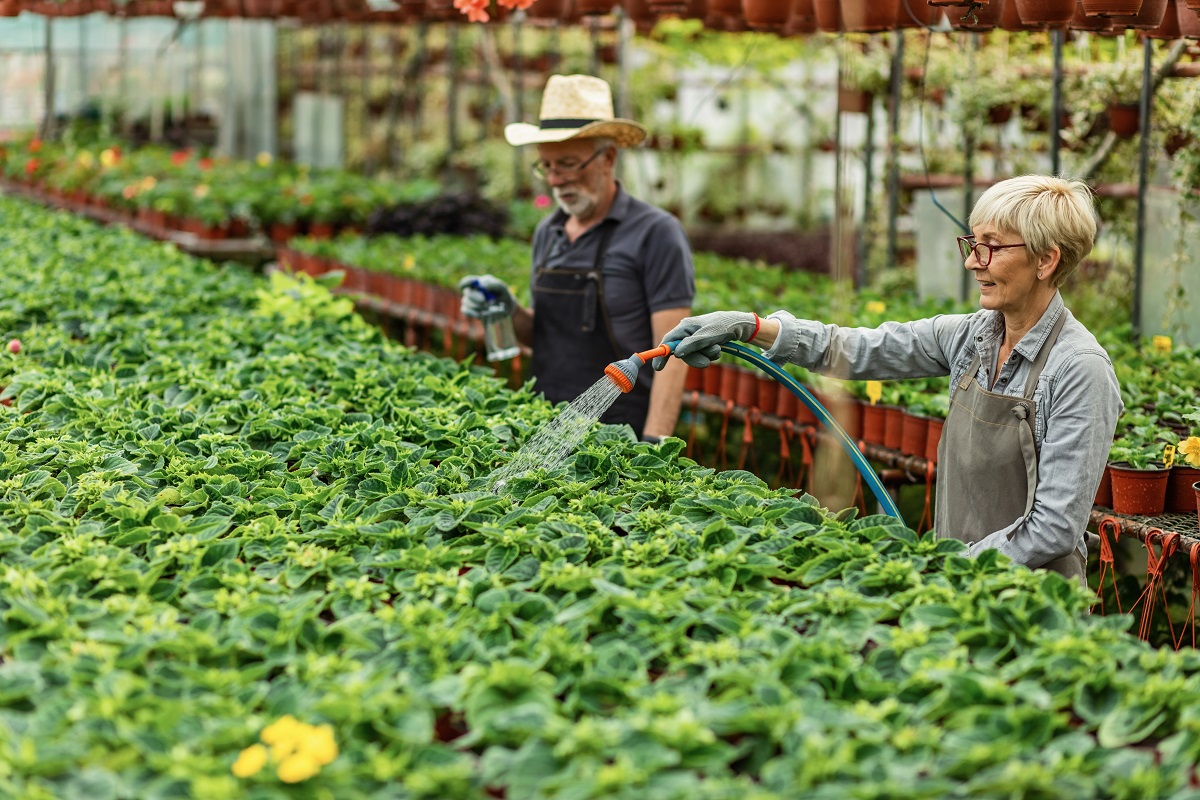
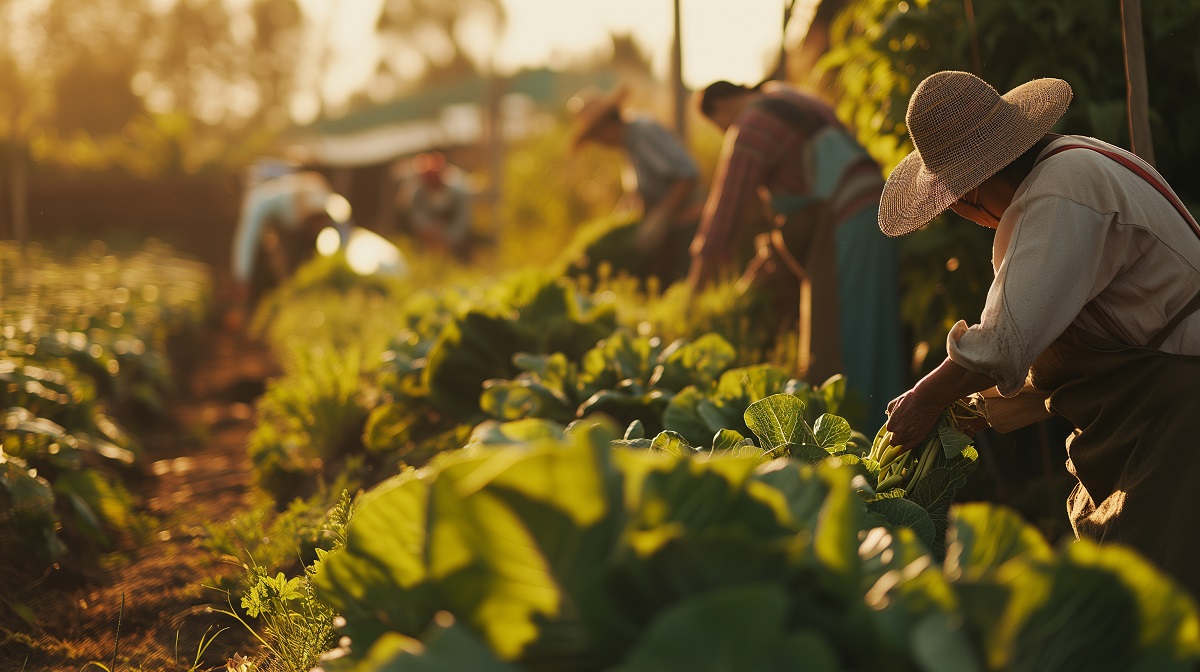
Regenerative Agriculture: How to Start Building Healthier Soils and Sustainable Farms
October 18, 2025
Silage vs. Hay: Understanding the Differences and Choosing the Best Forage for Your Operation
October 17, 2025
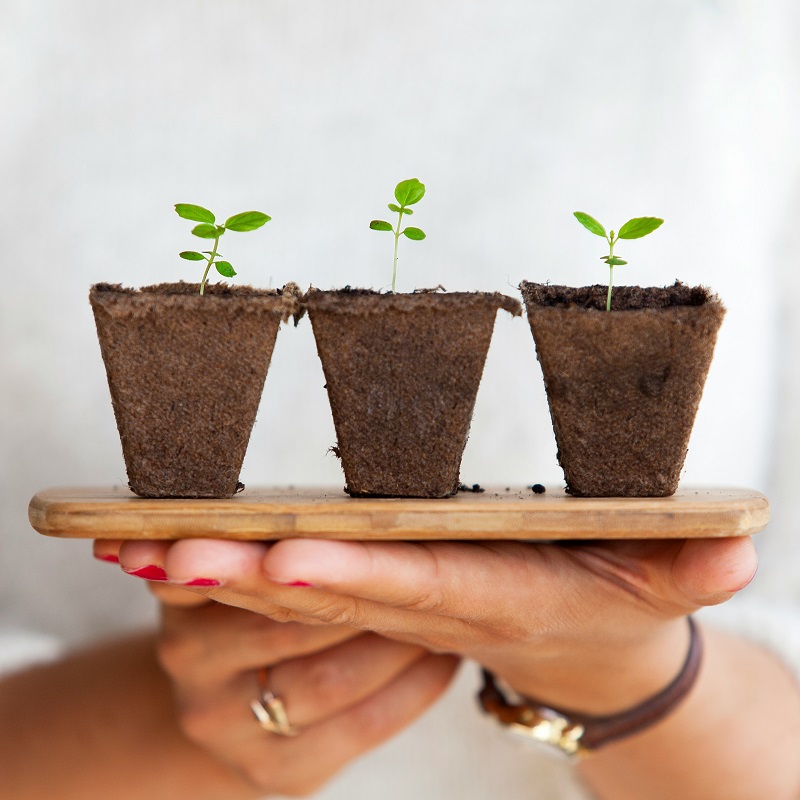
Vertical Garden Ideas: Growing Fresh Herbs and Vegetables in Small Spaces
October 17, 2025

Soil Drainage: When You Need It and How to Drain Waterlogged Soil
October 17, 2025