October 13, 2025
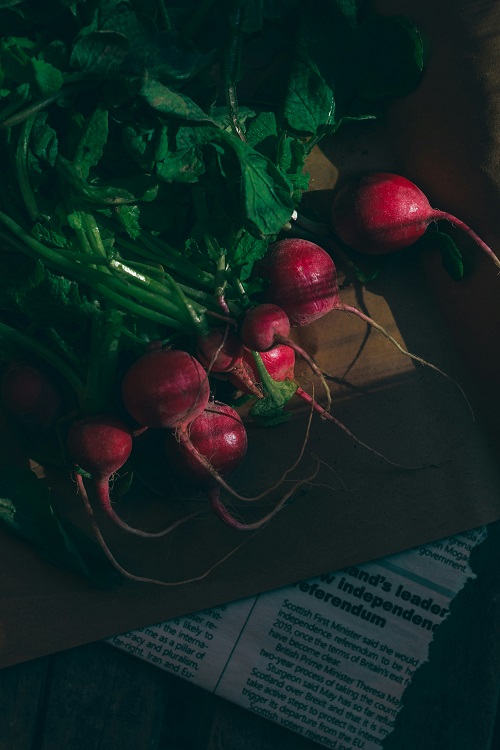
How to Grow Radishes: The Perfect Fast-Growing Crop for Your Garden
October 11, 2025
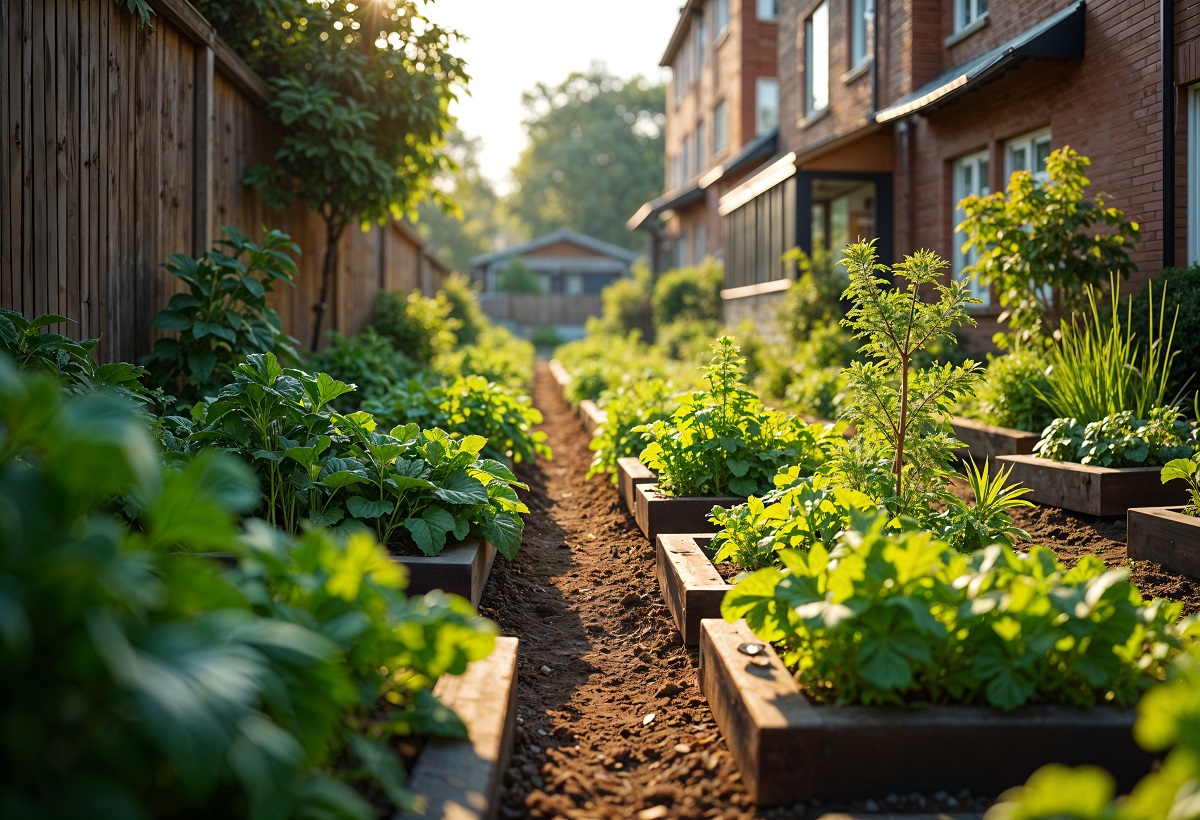
How to Start Organic Farming: A Low-Budget Guide to Growing Profitable Organic Crops
October 9, 2025
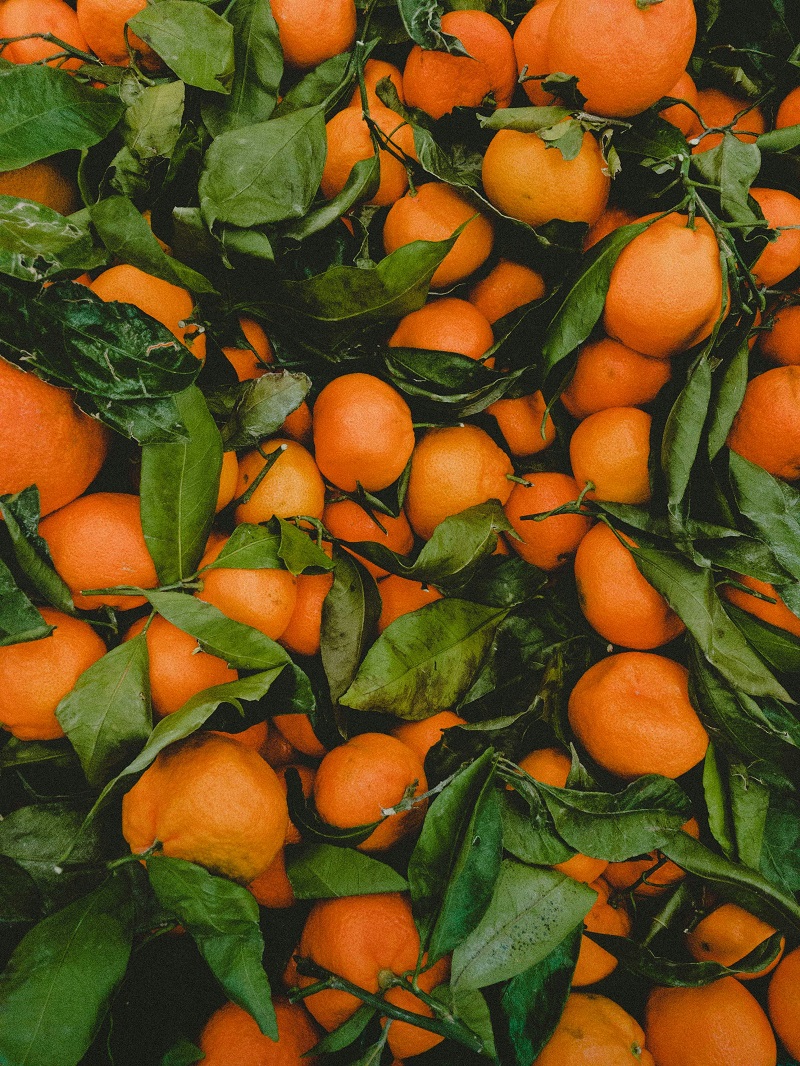
How to Grow Mandarin Oranges: Complete Guide to Planting and Harvesting Sweet Citrus
October 8, 2025
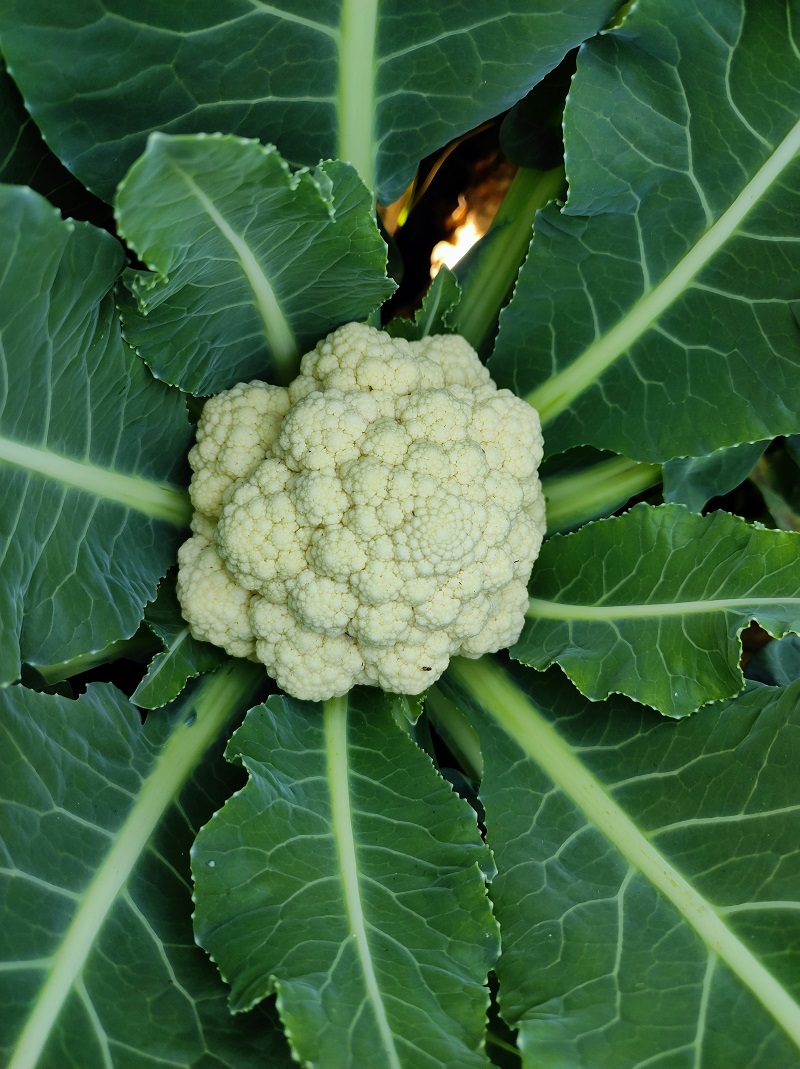
How to Grow Cauliflower: Complete Guide to Planting, Care, and Harvest
October 4, 2025
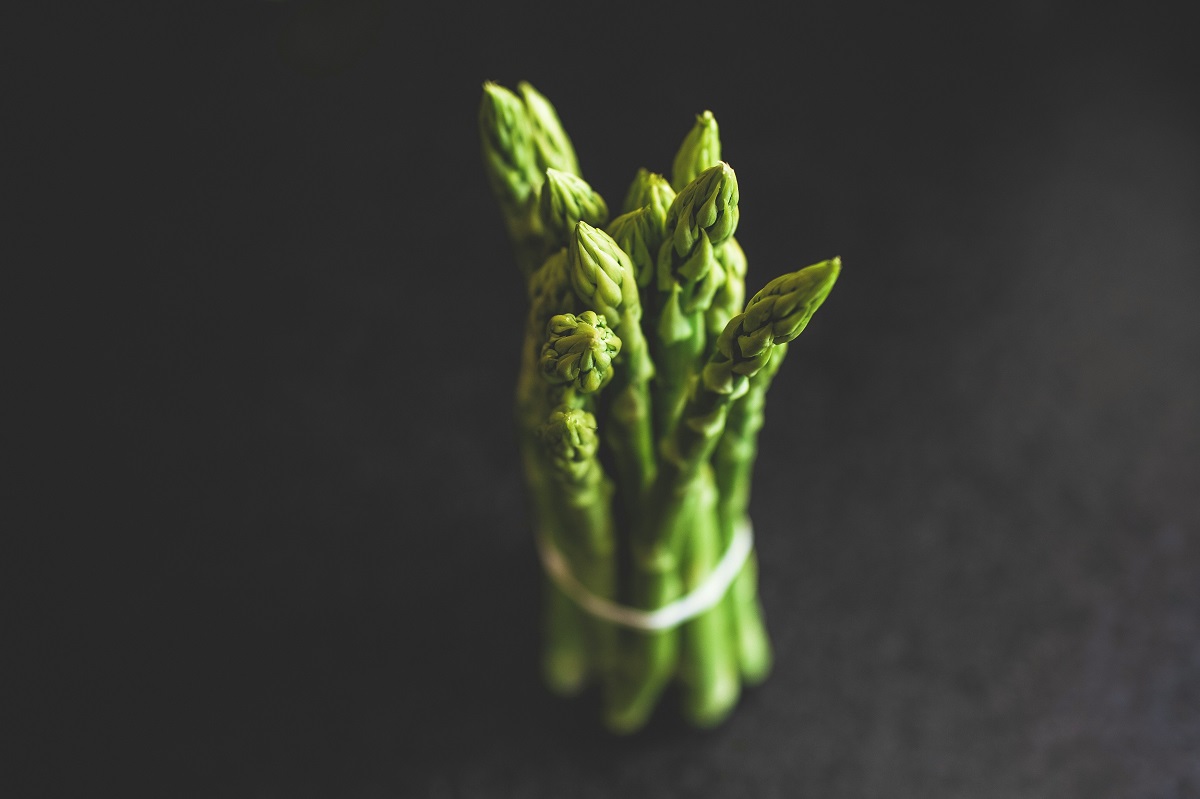
How to Grow Asparagus: A Complete Guide to Planting and Harvesting
October 4, 2025
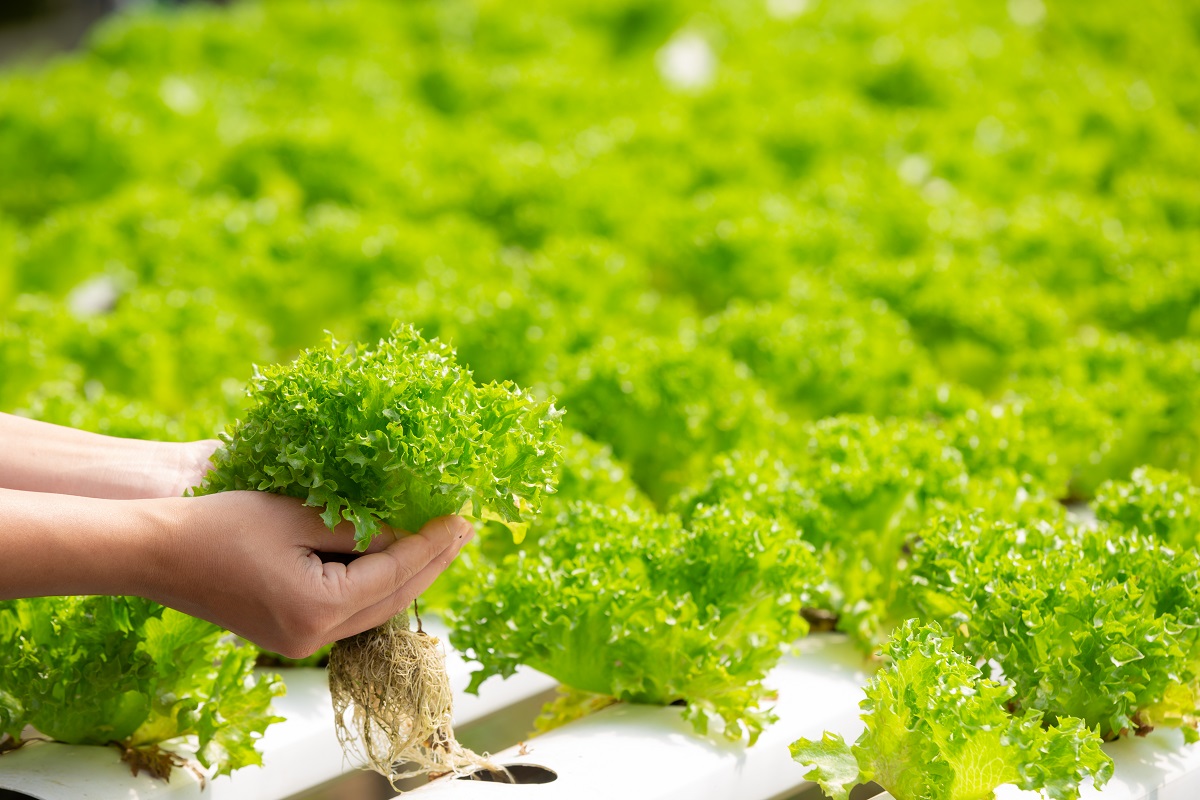
Hydroponics: How to Start and Profit from Sustainable Vegetable Growing
October 4, 2025