August 18, 2025
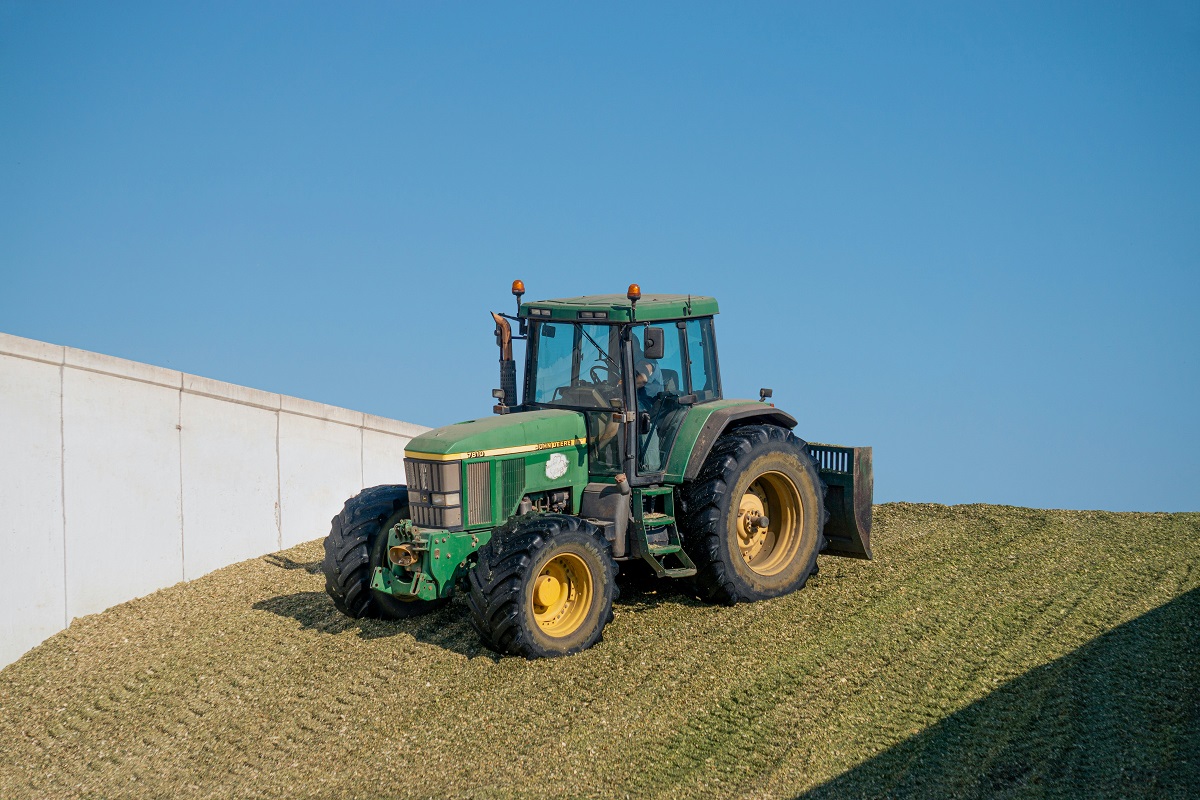
Silage Production: Types, Methods, and Best Practices
August 18, 2025
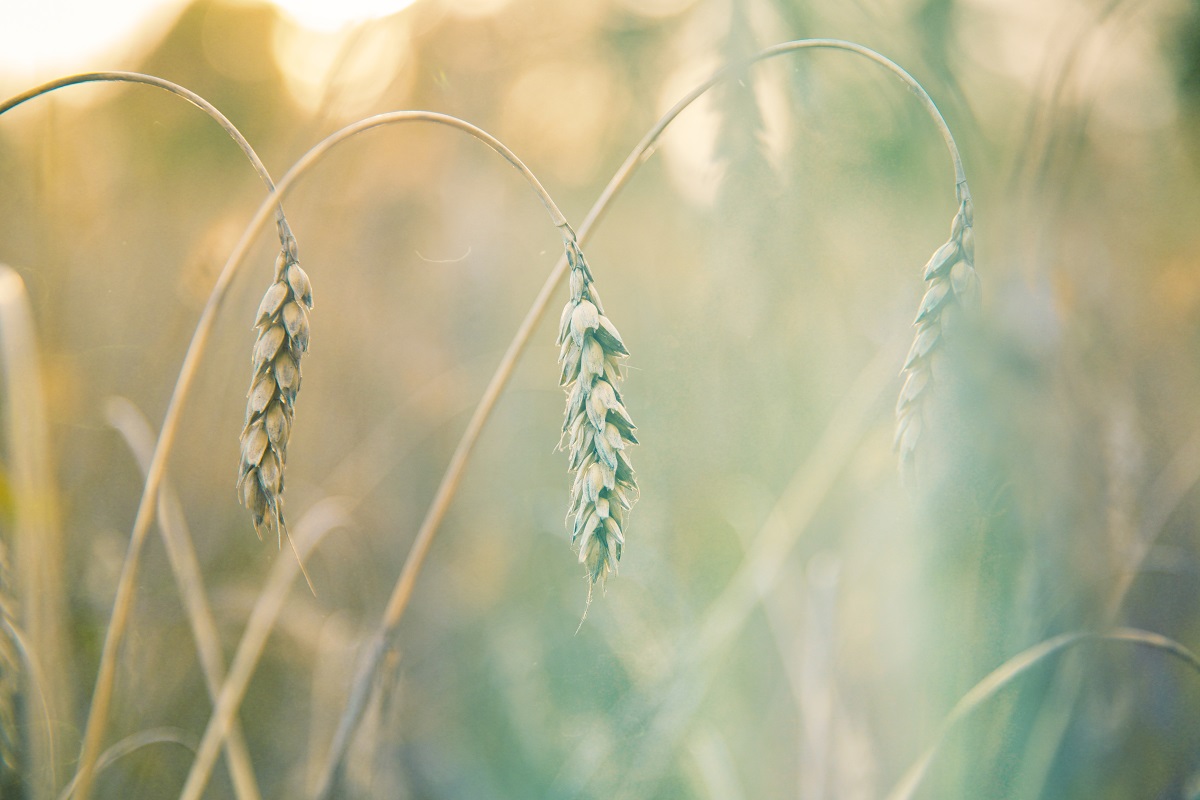
Complete Guide to Oat Cultivation: From Planting to Profitable Harvest
August 17, 2025

Complete Guide to Rice Cultivation: From Field Preparation to Harvest Success
August 17, 2025
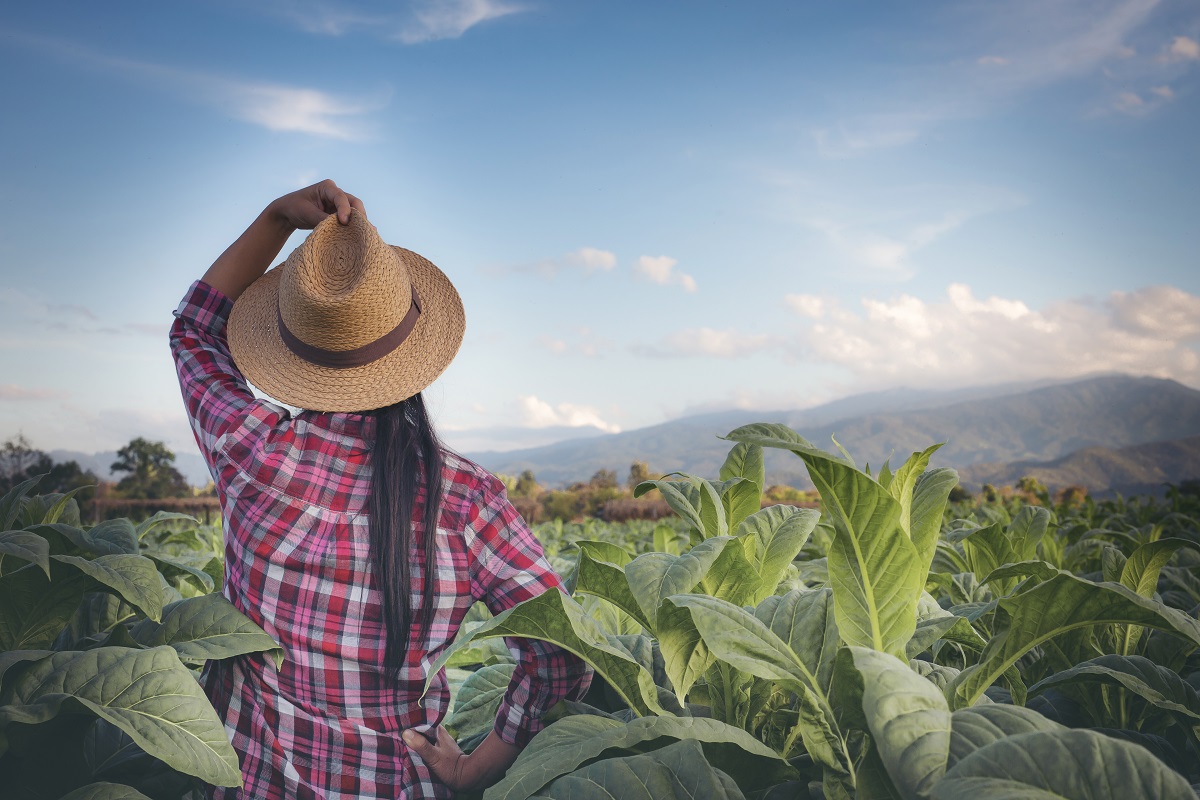
Complete Guide to Tobacco Cultivation: From Planting to Market Success
August 17, 2025
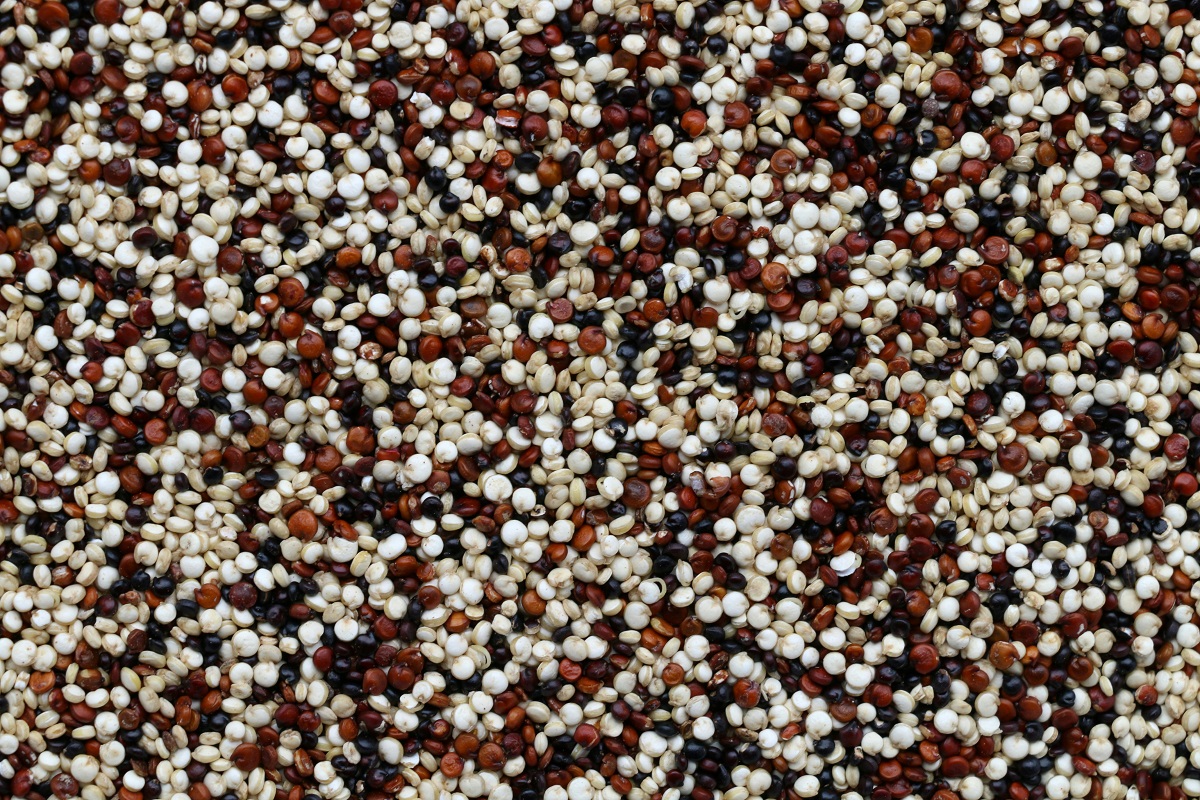
How to Cultivate Quinoa: Complete Growing Guide
August 17, 2025
How to Cultivate Sesame: Complete Growing Guide for American Farmers
August 17, 2025