
August 12, 2025

How to Plant and Grow Olive Trees
August 12, 2025
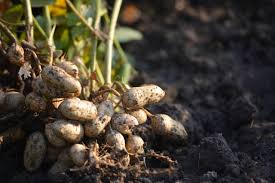
How to Plant Peanuts Step-by-Step for a Great Harvest
August 9, 2025
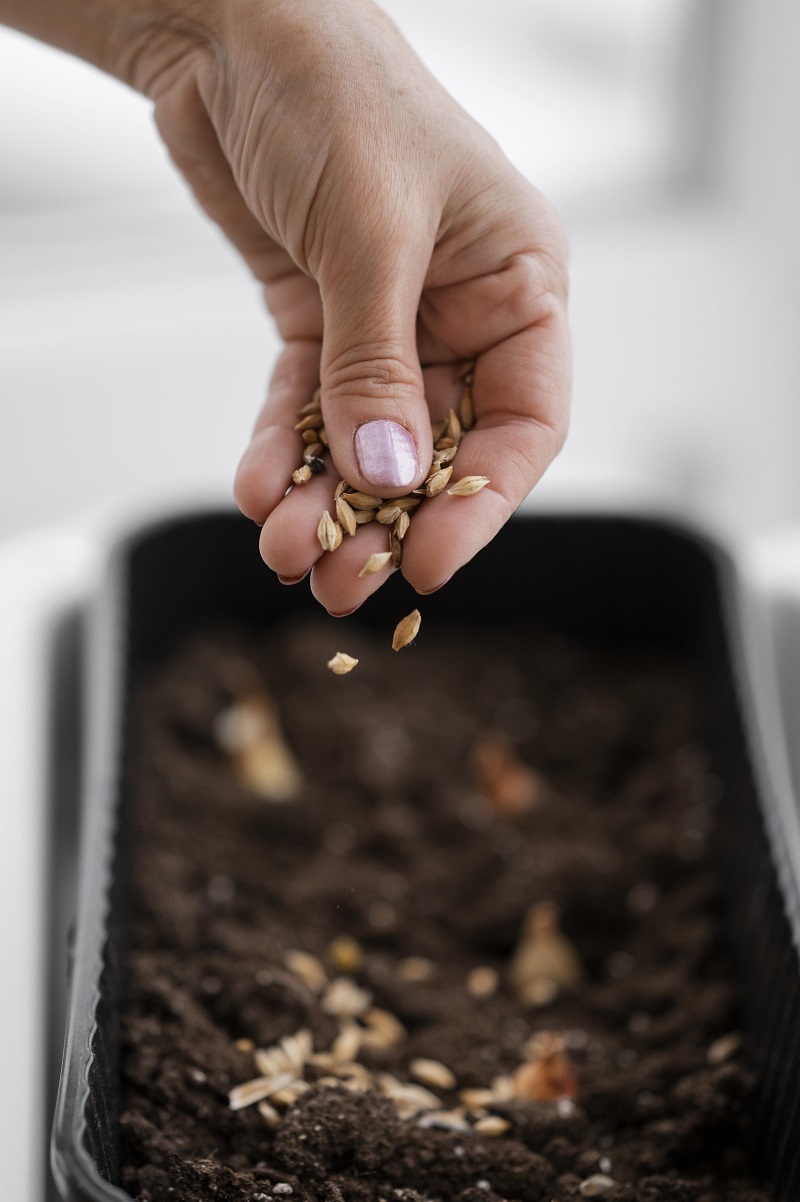
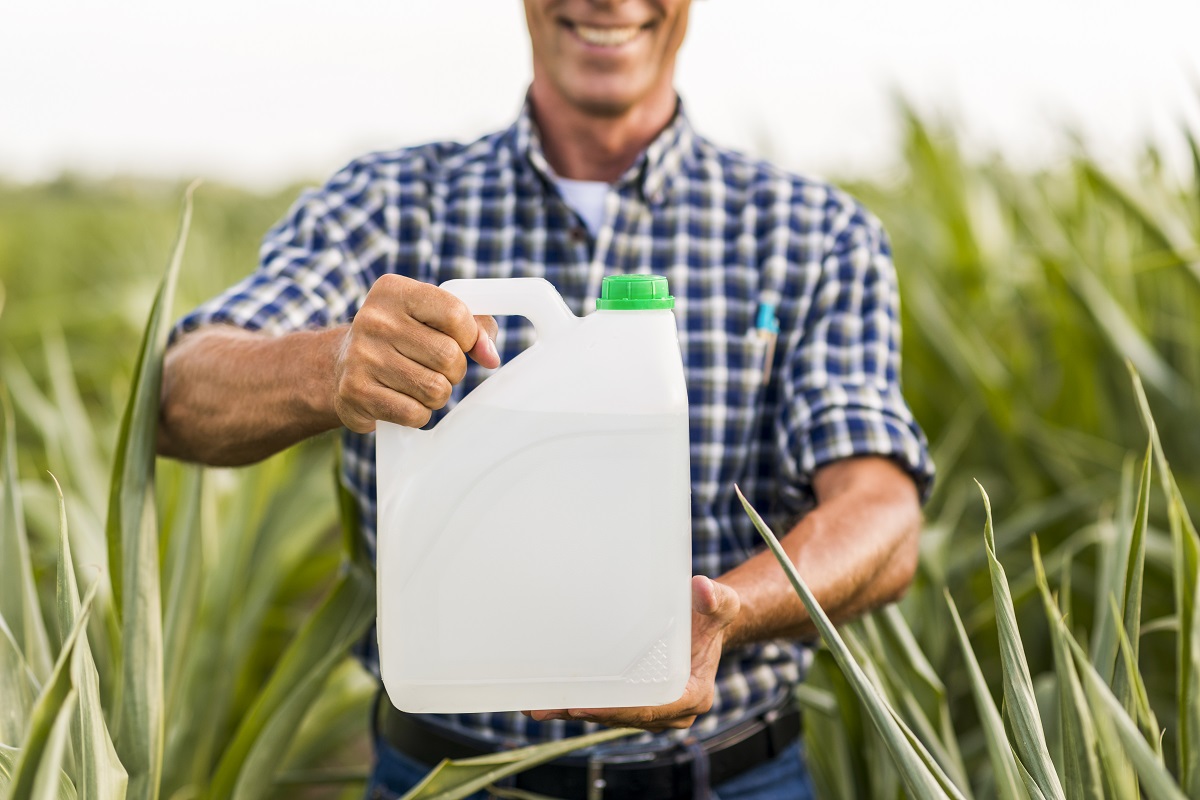
Seed Inoculation: What It Is, How It Works, and How to Use It in Your Planting
August 5, 2025
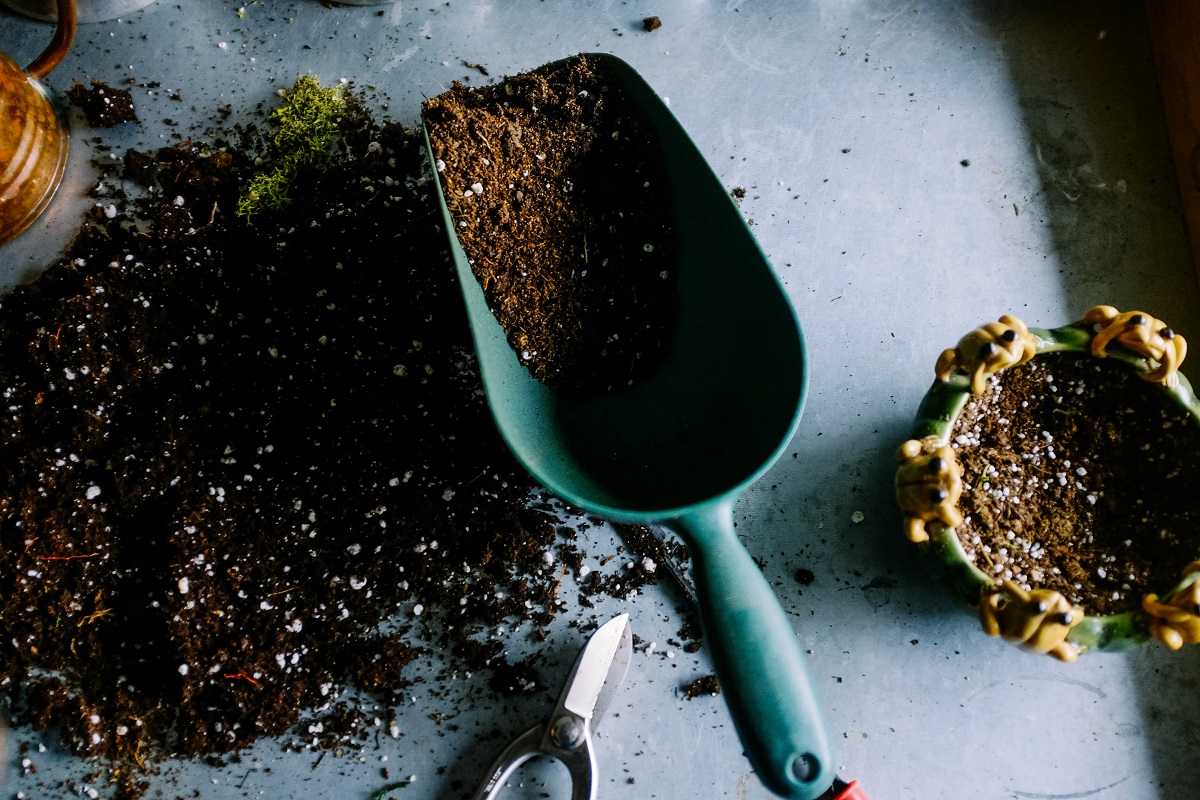
How to Make Your Own Substrate for Healthier, More Productive Crops
August 3, 2025

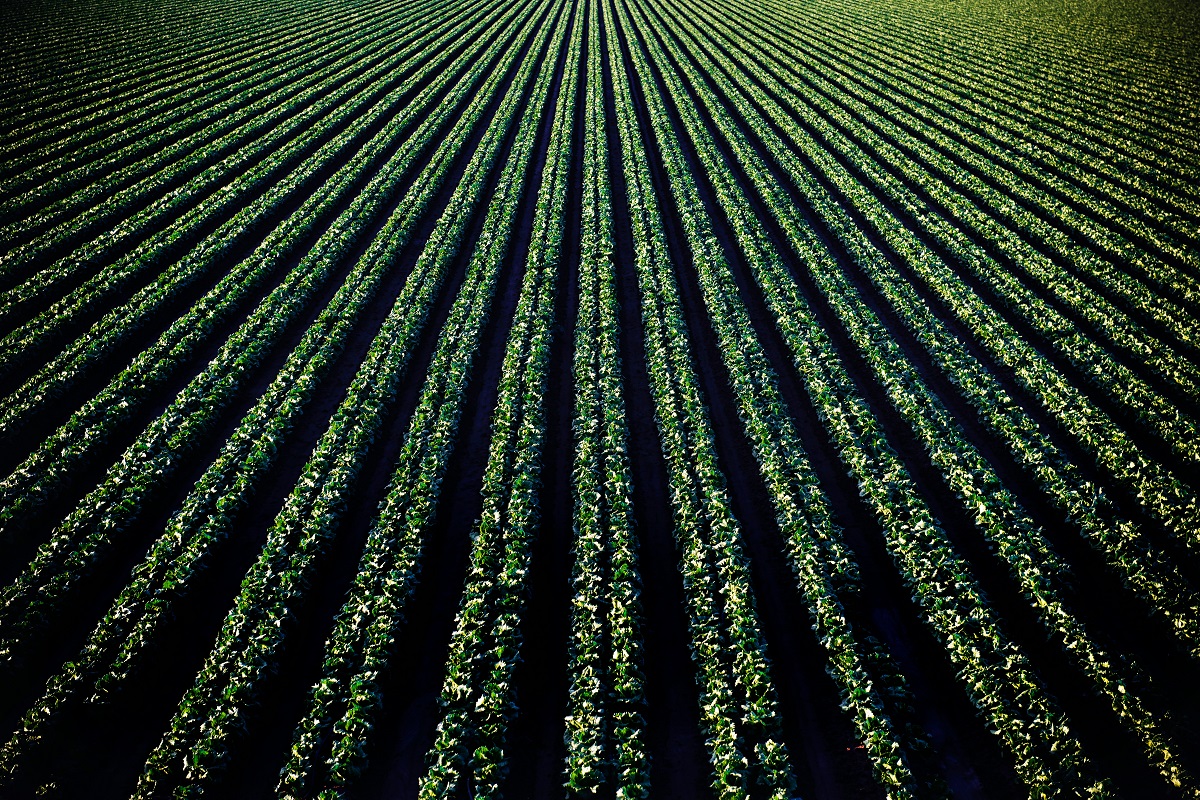
Fertigation: How to Optimize Nutrient Delivery and Boost Crop Yields
August 3, 2025
Linseed Planting Guide: How to Grow Flaxseed Successfully Year-Round
August 2, 2025