Potatoes are one of the most popular and profitable crops grown across the United States. Whether you’re a small-scale grower or managing a commercial farm, learning how to grow potatoes successfully can enhance your income, increase food security, and build soil health. This in-depth guide walks you through everything you need to know—from choosing the right varieties to managing pests and optimizing your harvest.
Why Grow Potatoes?
Potatoes are rich in carbohydrates, potassium, and vitamin C, making them a nutritional staple. From French fries to mashed potatoes, their versatility creates a high demand across fresh and processed markets.
Benefits of growing potatoes:
- High market demand and profitability
- Adaptable to various climates across the U.S.
- Opportunities for value-added products (chips, frozen fries, etc.)
- Ideal for crop rotation systems
- Feasible for home gardeners and large farms alike
Best Conditions for Growing Potatoes
Climate
- Ideal temperature range: 59°F to 68°F (15°C to 20°C)
- Full sun: At least 6 hours of direct sunlight daily
- Avoid: Excessive rainfall, waterlogged soils, or frost-prone periods
Soil Requirements
- Light, loose, and well-drained soil
- pH between 5.0 and 6.5
- High in organic matter and nutrients
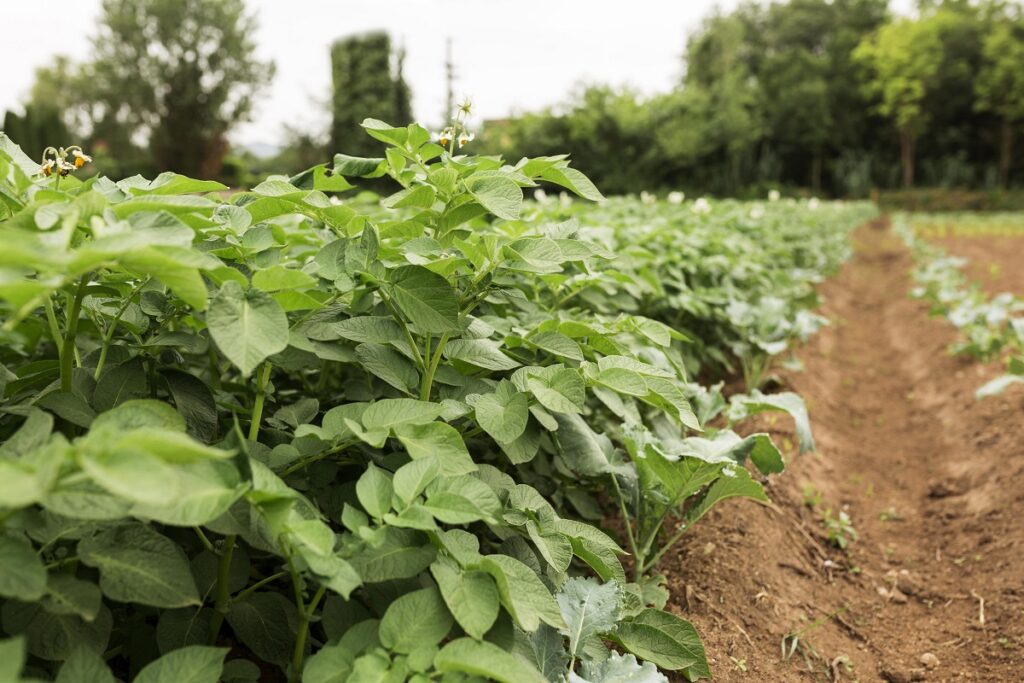
Space & Field Layout
- Potatoes require ample space for underground tuber development. Raised beds or hilled rows work well for home gardens and field production alike.
How to Plant Potatoes Step-by-Step
1. Choose the Right Variety
Select a potato variety that suits your climate, soil, and market goals:
White potatoes:
- Asterix, Kennebec
Yellow potatoes:
- Yukon Gold, Bintje, Atlantic
Purple potatoes:
- Purple Majesty, Vitelotte
Tip: Consider disease resistance and market preference when selecting varieties.
2. Prepare the Soil
- Conduct a soil test to assess pH and nutrient levels
- Apply lime if pH is too low
- Add compost or well-rotted manure for organic matter
- Till and form rows or raised beds with good drainage
3. Prepare Seed Potatoes
- Use certified seed potatoes free of disease
- Cut tubers into chunks with 2-3 eyes (sprout buds) each
- Cure cut pieces in a cool, dry place for 1–2 days before planting
4. Planting Potatoes
- Timing: Early spring (March–May) or fall in warmer regions
- Spacing: 12–15 inches apart in rows 30–36 inches apart
- Depth: 4–6 inches
Tip: Hilling the soil over the plants as they grow will protect tubers from sunlight and boost yields.
Potato Plant Care & Management
Proper care and management are essential for healthy potato crops and maximum yield. Below are the key practices to ensure successful potato cultivation:
Fertilization
- Soil Testing First: Always start with a soil test to determine existing nutrient levels and pH.
- Balanced Fertilizer: Apply a complete fertilizer such as 10-10-10 (N-P-K) at planting time to support early root and shoot growth.
- Side-Dressing Nitrogen: As the plants enter vigorous vegetative growth, side-dress with nitrogen (like urea or ammonium nitrate) to boost foliage and tuber development. Typically done around 4–6 weeks after planting.
Irrigation
- Consistent Moisture: Potatoes need steady soil moisture, especially during tuber initiation and bulking stages. Avoid both drought stress and waterlogging.
- Method:
- Drip Irrigation: Ideal for water efficiency and disease prevention.
- Sprinkler Systems: Suitable for larger fields but monitor closely to avoid overwatering.
- Frequency: Water deeply 1–2 times per week, adjusting based on rainfall and soil type.
Hilling
- Purpose: Hilling prevents sunlight exposure (which causes greening and solanine buildup in tubers) and provides physical protection from pests like Colorado potato beetles.
- When: Start when plants are 6 to 8 inches tall.
- How: Mound soil up around the base of the plant, covering the lower stem.
- Repeat: Every 2–3 weeks throughout the growing season, especially after heavy rains.
Pest & Disease Management
Common Potato Pests in the U.S.
- Colorado potato beetle: Defoliates plants; use row covers or insecticides
- Potato tuberworm: Larvae tunnel into tubers; use pheromone traps
- Wireworms: Damage young tubers; rotate crops regularly
Major Diseases
- Early blight and late blight: Use resistant varieties and apply fungicides
- Blackleg and soft rot: Ensure good drainage and sanitation
- Scab: Maintain soil pH below 5.5 to reduce risk
Integrated Pest Management (IPM)
- Regular field monitoring
- Biological control agents like lady beetles or entomopathogenic fungi
- Use of selective pesticides only when thresholds are met
- Crop rotation with non-solanaceous crops (corn, beans, etc.)
Harvesting and Post-Harvest Tips
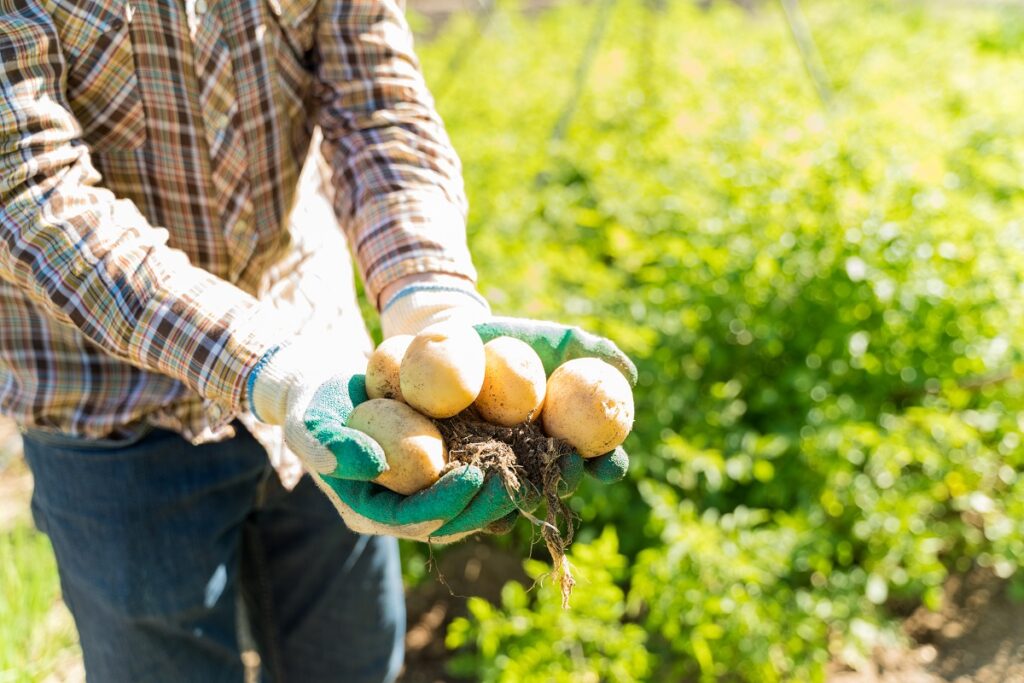
When to Harvest
- Indicator: Yellowing or drying foliage
- Tuber maturity: 80–120 days after planting, depending on variety
- Moisture level: Soil should be slightly dry to prevent rot during harvest
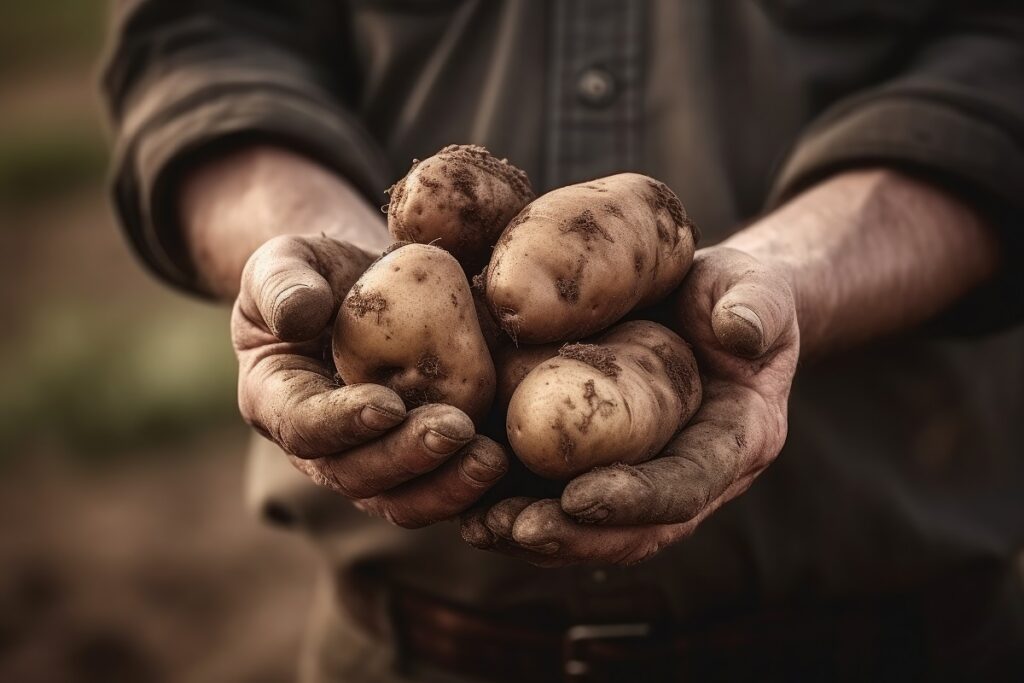
How to Harvest
- For small plots: Use a spading fork or hands to dig gently
- For larger areas: Use mechanical potato diggers
- Cure harvested potatoes in a shaded, well-ventilated area for 5–10 days
Storage Tips
- Store at 45–50°F in dark, humid environments (85–90% RH)
- Keep away from ethylene-producing fruits like apples
- Avoid exposing tubers to light to prevent greening and solanine buildup
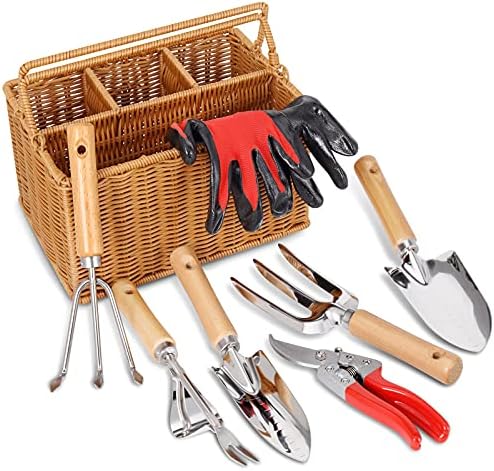
Equipment & Inputs for Potato Farming
- Soil tillage tools (plows, discs)
- Planters and hillers
- Drip or overhead irrigation systems
- Fertilizers and soil amendments
- Insecticides, fungicides, and biologicals
- Harvesting tools and curing bins
- Certified seed potatoes
Pro Tips for a High-Yield Potato Crop
- Choose disease-resistant varieties adapted to your region
- Conduct soil tests and fertilize accordingly
- Monitor fields weekly for pest and disease pressure
- Practice crop rotation and IPM
- Hill properly and consistently
- Harvest at full maturity for better storability
You may also like: The Ultimate Guide to Growing Zucchini: Best Varieties, Planting Tips, and Soil Prep
Ready to Plant Potatoes?
Growing potatoes in the U.S. is a rewarding venture with the right knowledge and tools. Whether you’re planting for personal consumption or commercial sales, following this guide will help you produce a high-quality, high-yield crop.