
Why Seed Inoculation Can Be a Game-Changer for Your Crops
Have you ever wondered how to make your plants grow stronger, healthier, and more productive without relying solely on chemical fertilizers? Seed inoculation might be the answer.
This simple and cost-effective agricultural technique uses beneficial microorganisms to help plants absorb nutrients more efficiently, especially nitrogen.
In this article, you’ll learn what seed inoculation is, how it works, and how to apply it step-by-step so you can boost your yields and soil health naturally.
What Is Seed Inoculation and Why It Matters
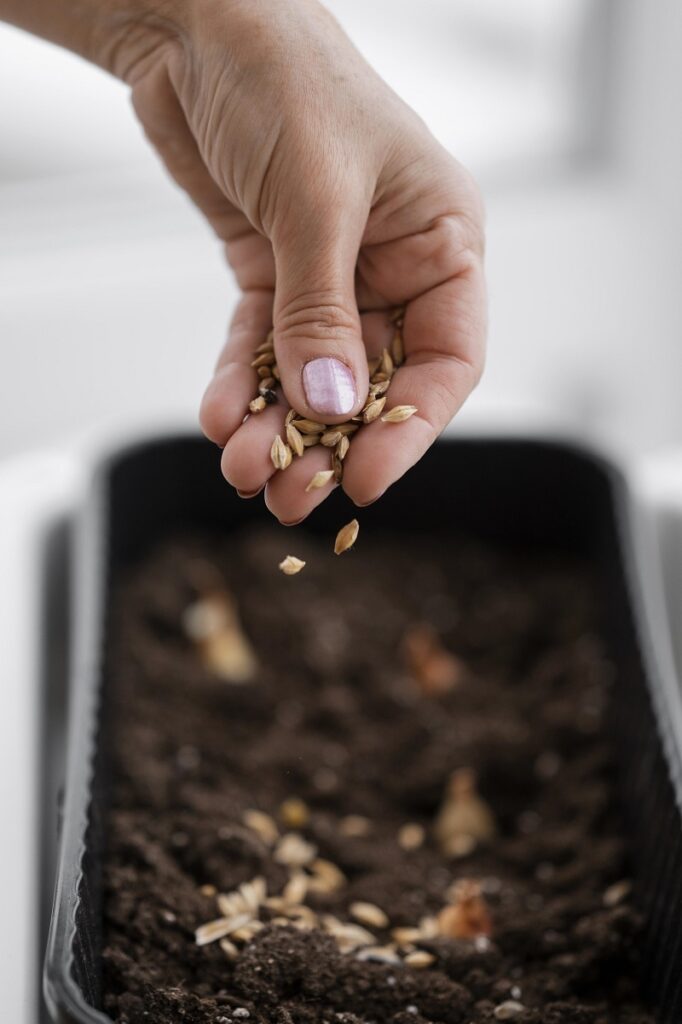
Seed inoculation is the process of coating seeds with specific microorganisms—usually beneficial bacteria—that form a symbiotic relationship with the plant’s roots.
In legumes like soybeans, beans, and peas, these microorganisms help fix nitrogen directly from the air, reducing or even eliminating the need for nitrogen fertilizers.
Main benefits include:
- Better nutrient absorption
- Stronger root development
- Increased yield potential
- Lower fertilizer costs
- Improved soil fertility over time
💡 Fun fact: Seed inoculation has been used in agriculture for over a century, but modern products are more effective and easier to apply than ever before.
How Seed Inoculation Works
When you inoculate seeds, the bacteria (often Rhizobium species) attach to the seed coat.
Once the seed germinates, the bacteria move into the root system, forming nodules where nitrogen fixation takes place. This process converts atmospheric nitrogen (N₂) into a form plants can absorb, like ammonia.
In short, inoculation turns your plants into their own nitrogen factories.
Types of Seed Inoculation
There are several ways to inoculate seeds, and the choice depends on the crop and the product you’re using.
| Type | Description | When to Use |
|---|---|---|
| Peat-based | Powder or paste containing live bacteria | Common for legumes |
| Liquid inoculants | Easy to mix and apply directly to seeds | Fast planting operations |
| Granular inoculants | Applied in the planting furrow | Useful for large-scale planting |
| Multi-strain inoculants | Contain more than one beneficial microorganism | For diversified soil benefits |
How to Do Seed Inoculation – Step-by-Step
1. Choose the Right Inoculant
Not all inoculants are the same—each crop requires a specific strain of bacteria or fungi that forms a symbiotic relationship with the plant.
- Example: Soybeans require Bradyrhizobium japonicum, while beans use Rhizobium phaseoli.
- Check packaging: Always verify the expiration date; expired inoculants lose effectiveness.
- Storage: Keep them in a cool, dry, and shaded place—never under direct sunlight or near heat sources.
💡 Pro Tip: Consulting an agronomist can help you pick the right inoculant for your soil type and crop variety, ensuring the investment pays off.
2. Prepare the Seeds
Before applying the inoculant, make sure the seeds are completely clean.
- Remove dust, dirt, or chemical residues (especially pesticides or fungicides that can kill beneficial microbes).
- If using treated seeds, check if the inoculant is compatible with the treatment—some need to be applied immediately before planting.
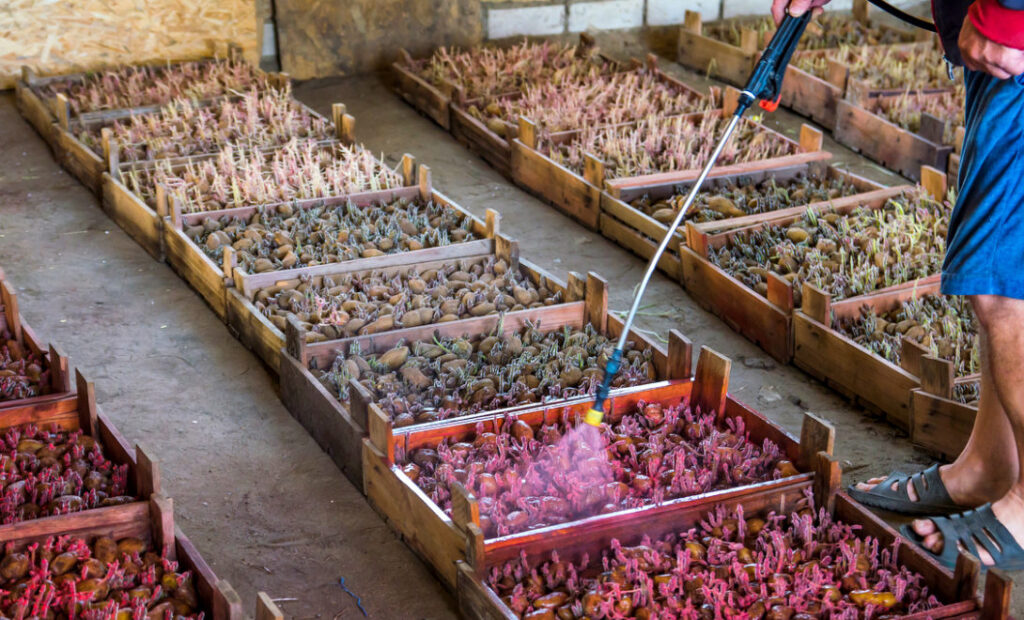
3. Apply the Inoculant
- Use a clean container (tray, bucket, or drum) to avoid contamination.
- Pour the inoculant over the seeds and mix gently but thoroughly until every seed is evenly coated.
- For better adhesion, you can slightly moisten the seeds with clean water before application, but avoid excess moisture.
💡 Pro Tip: Some farmers mix the inoculant with a sticking agent (like sugar solution) to make it adhere better.
4. Dry in the Shade
- Spread the inoculated seeds in a thin layer in a shaded, well-ventilated place.
- Never expose them to direct sunlight—UV rays and heat can kill the beneficial microorganisms within minutes.
5. Plant as Soon as Possible
- Ideally, plant the inoculated seeds on the same day.
- If you must wait, store them in a cool, shaded area for no more than 24 hours.
- Delaying planting reduces the number of live bacteria on the seed surface, lowering the benefits.
💡 Pro Tip: If conditions don’t allow immediate planting, consider applying the inoculant in-furrow during planting instead of pre-coating the seeds.
Extra Tips for Better Results
- Avoid chemical seed treatments before inoculation unless they are compatible with the inoculant.
- Check soil pH—very acidic soils may require liming for optimal bacterial activity.
- Reinoculate each season, even if legumes were grown previously.
- Store inoculants properly to maintain bacterial viability.
Common Mistakes to Avoid
- Leaving inoculated seeds exposed for hours before planting
- Using expired or poorly stored inoculants
- Mixing with incompatible pesticides or fungicides
- Planting in very dry soil without irrigation
Final Thoughts
Seed inoculation is a low-cost, high-impact practice that can significantly improve your crop’s performance while caring for the soil. By following the correct steps and avoiding common mistakes, you can enjoy healthier plants and higher yields—naturally.
See also: [Guide to Organic Fertilizers for Beginners]
What about you? Have you tried seed inoculation before? Share your experience in the comments below!

- COMPLETE GARDEN VARIETY: Premium collection of 55 heirloom vegetable seeds for planting with 28,000+ non-GMO seeds; Perf…
- 55 HEIRLOOM VARIETIES (28,000+ SEEDS): Grow a complete garden with Asparagus (A. officinalis), Beans (P. vulgaris), Beet…
- HIGH-YIELD GARDEN SEEDS: Vegetable seeds variety pack features open-pollinated, non-hybrid seeds with exceptional germin…